

edgeMED Help Center > Practice Management > Billing
Creating superbills and groups.
About
The edgeMED Superbill is another way for our users to capture charges. Another way would be the Charge Capture App or creating an encounter with coding in the EHR. If a client is not using the edgeMED EHR, the Superbill is a great way to capture charges and send them to the Billing platform as an Unbilled Encounter.
Superbills must be created in the edgeMED Billing application. Once created, users can see the Superbill in the Scheduler, as well as Billing. The best thing to do first is to create Superbill Groups prior to creating the Superbill itself. Superbill Groups allow users to place specific coding under specific headings on the Superbill. For example, E&M Coding, Labs, Testing, etc. Users can create a Superbill Group named E&M Coding, and only assign their E&M CPT Codes to this grouping, creating a well-formatted and easy to use Superbill.
Superbill Groups
You have the ability to create specific groups of coding if you would like. This way your coding is under certain headings on your Super Bill. For instance, you make a Super Bill Group named "Office Visits", and assign all of your E&M codes to this group. You can then assign these groups to specific Super Bills.

Click Superbill Group to add a new group or view exiting groups.
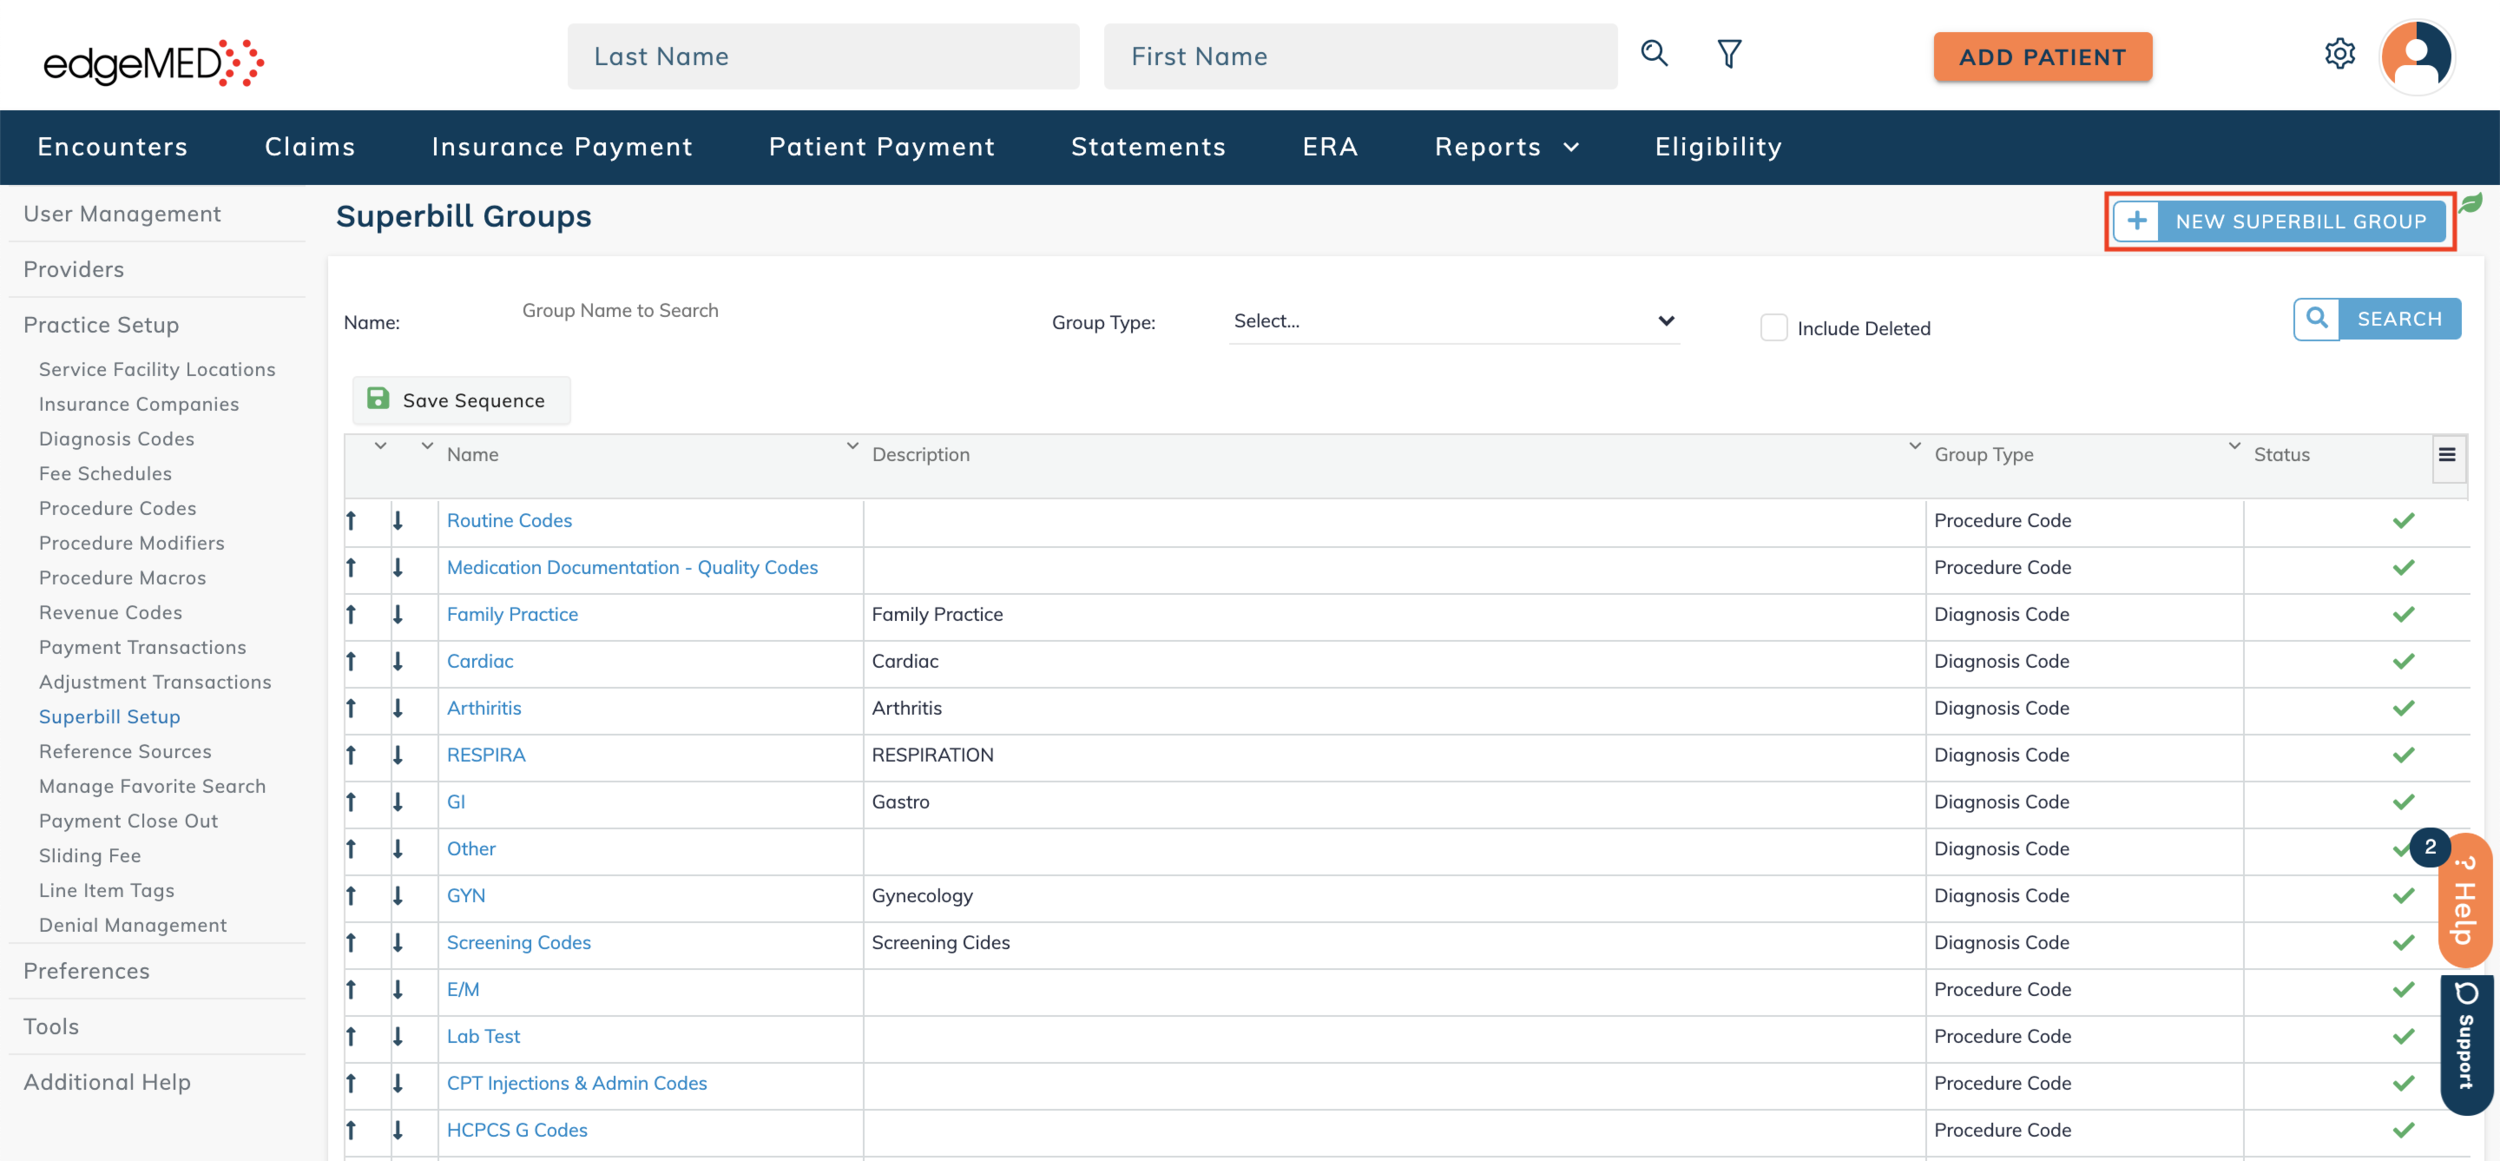
In this view you can see all existing superbill groups. To add a new one, click New Superbill Group.

Here users will name their Superbill Group, select the Group Type (Procedure Codes, Diagnosis Codes or Miscellaneous Charges)> and search their codes. Selecting the check box to the left of a specific code will add that code to the Superbill Group. To remove a code, simply deselect the checkbox. When all the correct information is entered, click Save.
Creating a Superbill

Click Settings in the top right corner.

Click Practice Setup and then Superbill Setup.
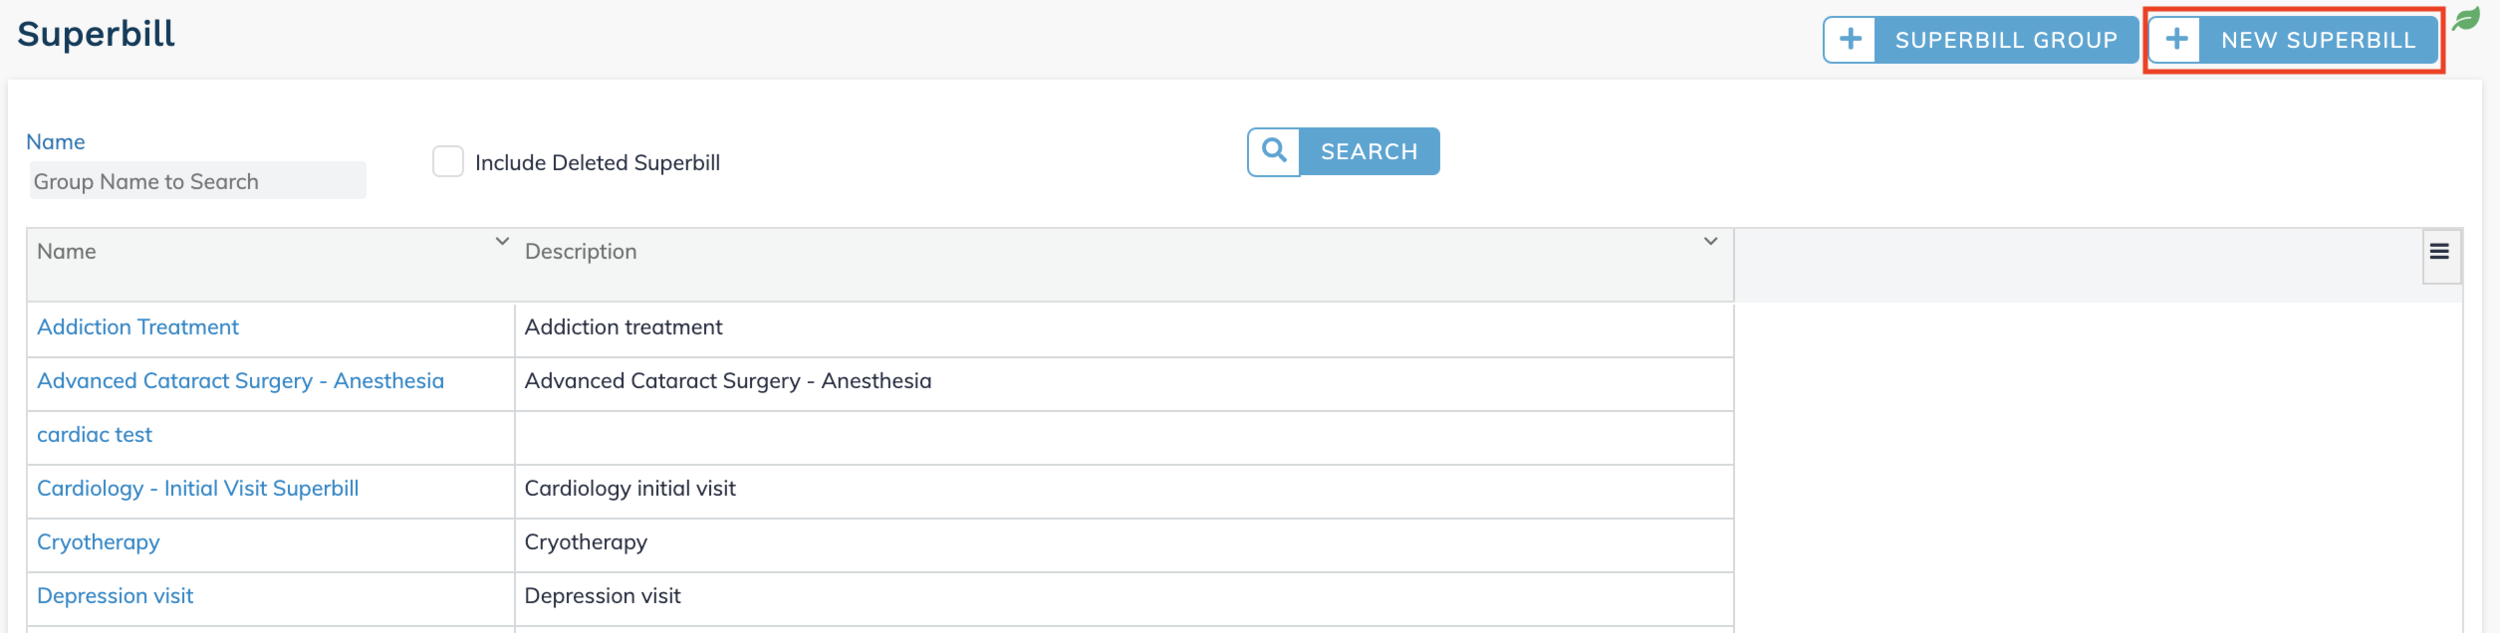
Click New Super Bill.

Here the user can give their Superbill a name, and select the Superbill Groups to add to the Superbill. Adding the codes at the bottom will add coding directly to the Superbill, however will not add them in any order under any heading, as they are not being added via a group. It is best to add coding in a group first, then add the groups to the Superbill.
Adding a Superbill to a Patient
Once the Superbill is created, users can select a superbill from the Patient Dashboard in the Billing solution.

Click Superbill.

Select the correct superbill from the drop-down and click OK.
Adding a Superbill to a Patient from the Scheduler
Users can also select the superbill while in the patient’s appointment in the Scheduler. If users select the Superbill from within the patient’s appointment, they can also select Generate Encounter once the superbill is filled in. This will automatically create an encounter in the Billing platform. Users can certainly print the Superbill out as well if they prefer, by selecting Download as PDF.

Click Superbill at the top right of the pop-up. If you would like to download it as a PDF, click the Download as PDF button (see below).
