edgeMED Help Center > Practice Management > Billing
Create and apply patient funds.
Creating Patient Funds
Patient Funds can be created in a few different ways.
Users can post a patient payment to an individual patient, without allocating funds to specific line items or dates of service. This will automatically post funds to the patient's fund account.
If a patient paid a specific amount, then the payer states the patient portion should have been less. edgeMED will automatically create a Patient Fund for you.
Users can click Menu and select Patient Funds.
Search the patient name (the patient will only populate if the patient has had a Patient Fund Prior. If they have not, the user will select "New Patient Fund", then add the patient).
Select the green Plus icon at the "Patient Fund Details" and then select "Credit" from the line added.
Here you will put the Patient Fund amount you would like to create. This is also the process used if you would like to "Debit" an amount from the Patient Fund Balance, should the fund be inaccurate.
Apply Patient Funds
Two options exist for applying patient funds.
Option 1
Select Menu and Patient Funds. On the following screen that appears, search for and select the patient's name.
Select Apply Funds.
edgeMED will automatically open a new patient payment with that patient name, the fund amount that the patient has to be allocated, and "Patient Fund" as the method of payment. You can allocate the funds to the date of service and line items needed. Finally, select Save and Post.
Option 2
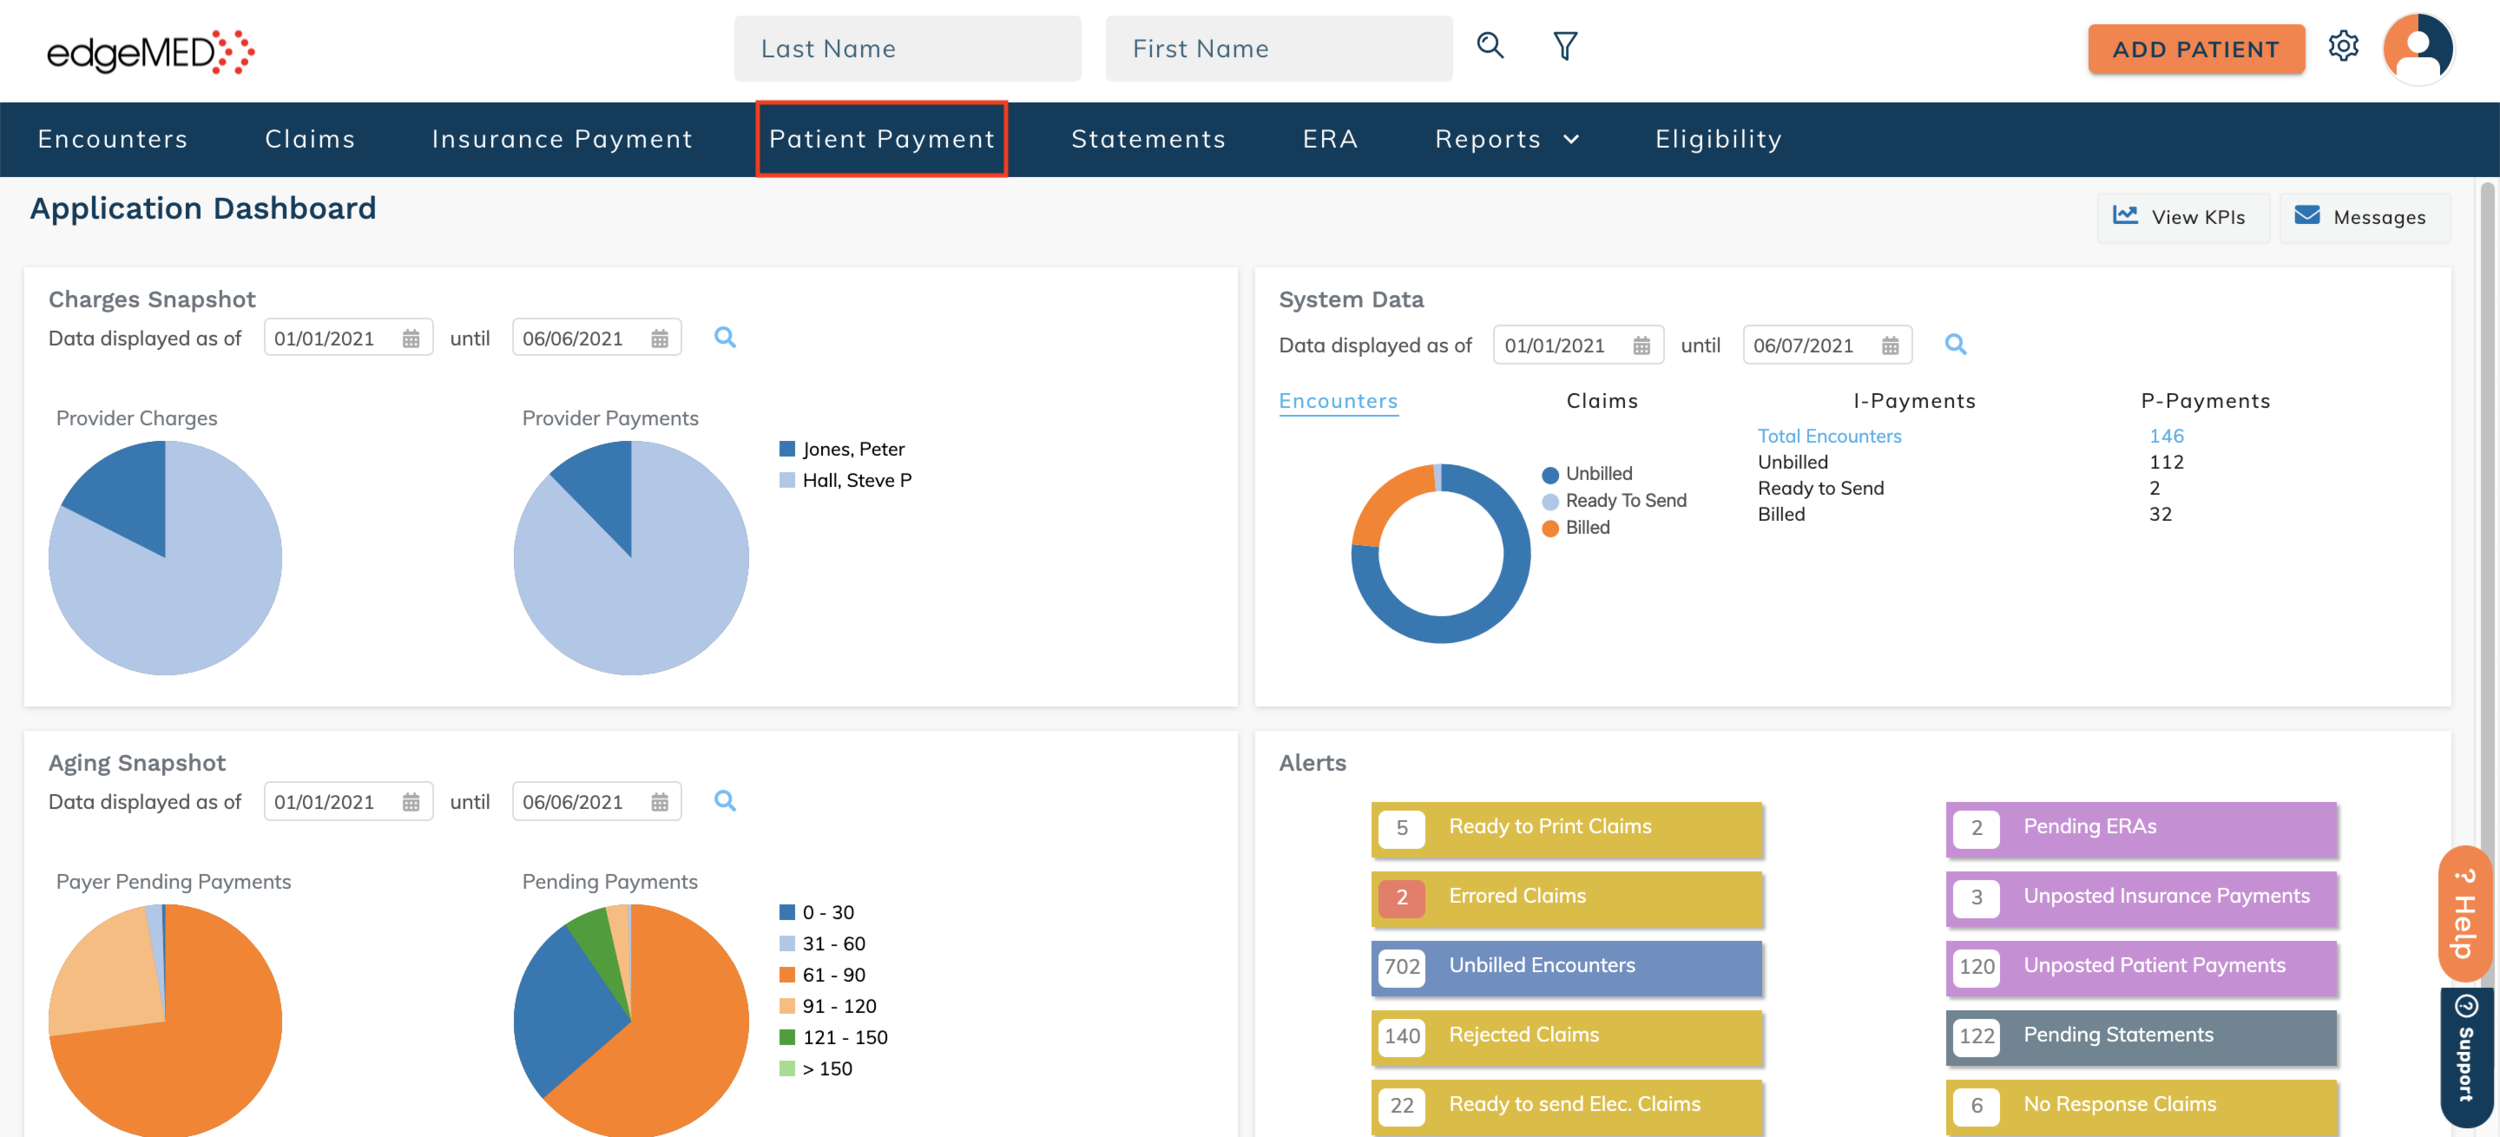
Select Patient Payment (P-Payment) from the blue bar at the top of the screen.
Then, select New Payment from the top right of the screen. From the pop-up box that will then display, search the patient name.
On the left of the screen, enter the amount of fund that needs to be allocated in the "Amount" box. Select Patient Fund as the method of payment. Allocate the funds to the date of service and line items needed. Finally, select Save and Post.
Additional Information
When printing a statement, you may notice that a patient has a fund/credit on their account. This will need to be applied prior to sending the patient statement. To do this, select the fund amount shown on the statement screen, and follow the steps in Option 2. Once the fund has been allocated, you can go back to the statement screen and select the Update Statement icon to generate a new, accurate statement for the patient.


