

edgeMED Help Center > Practice Management > Billing
Claim cancellation.
Cancel a Single Claim

Click on an encounter from any tab.
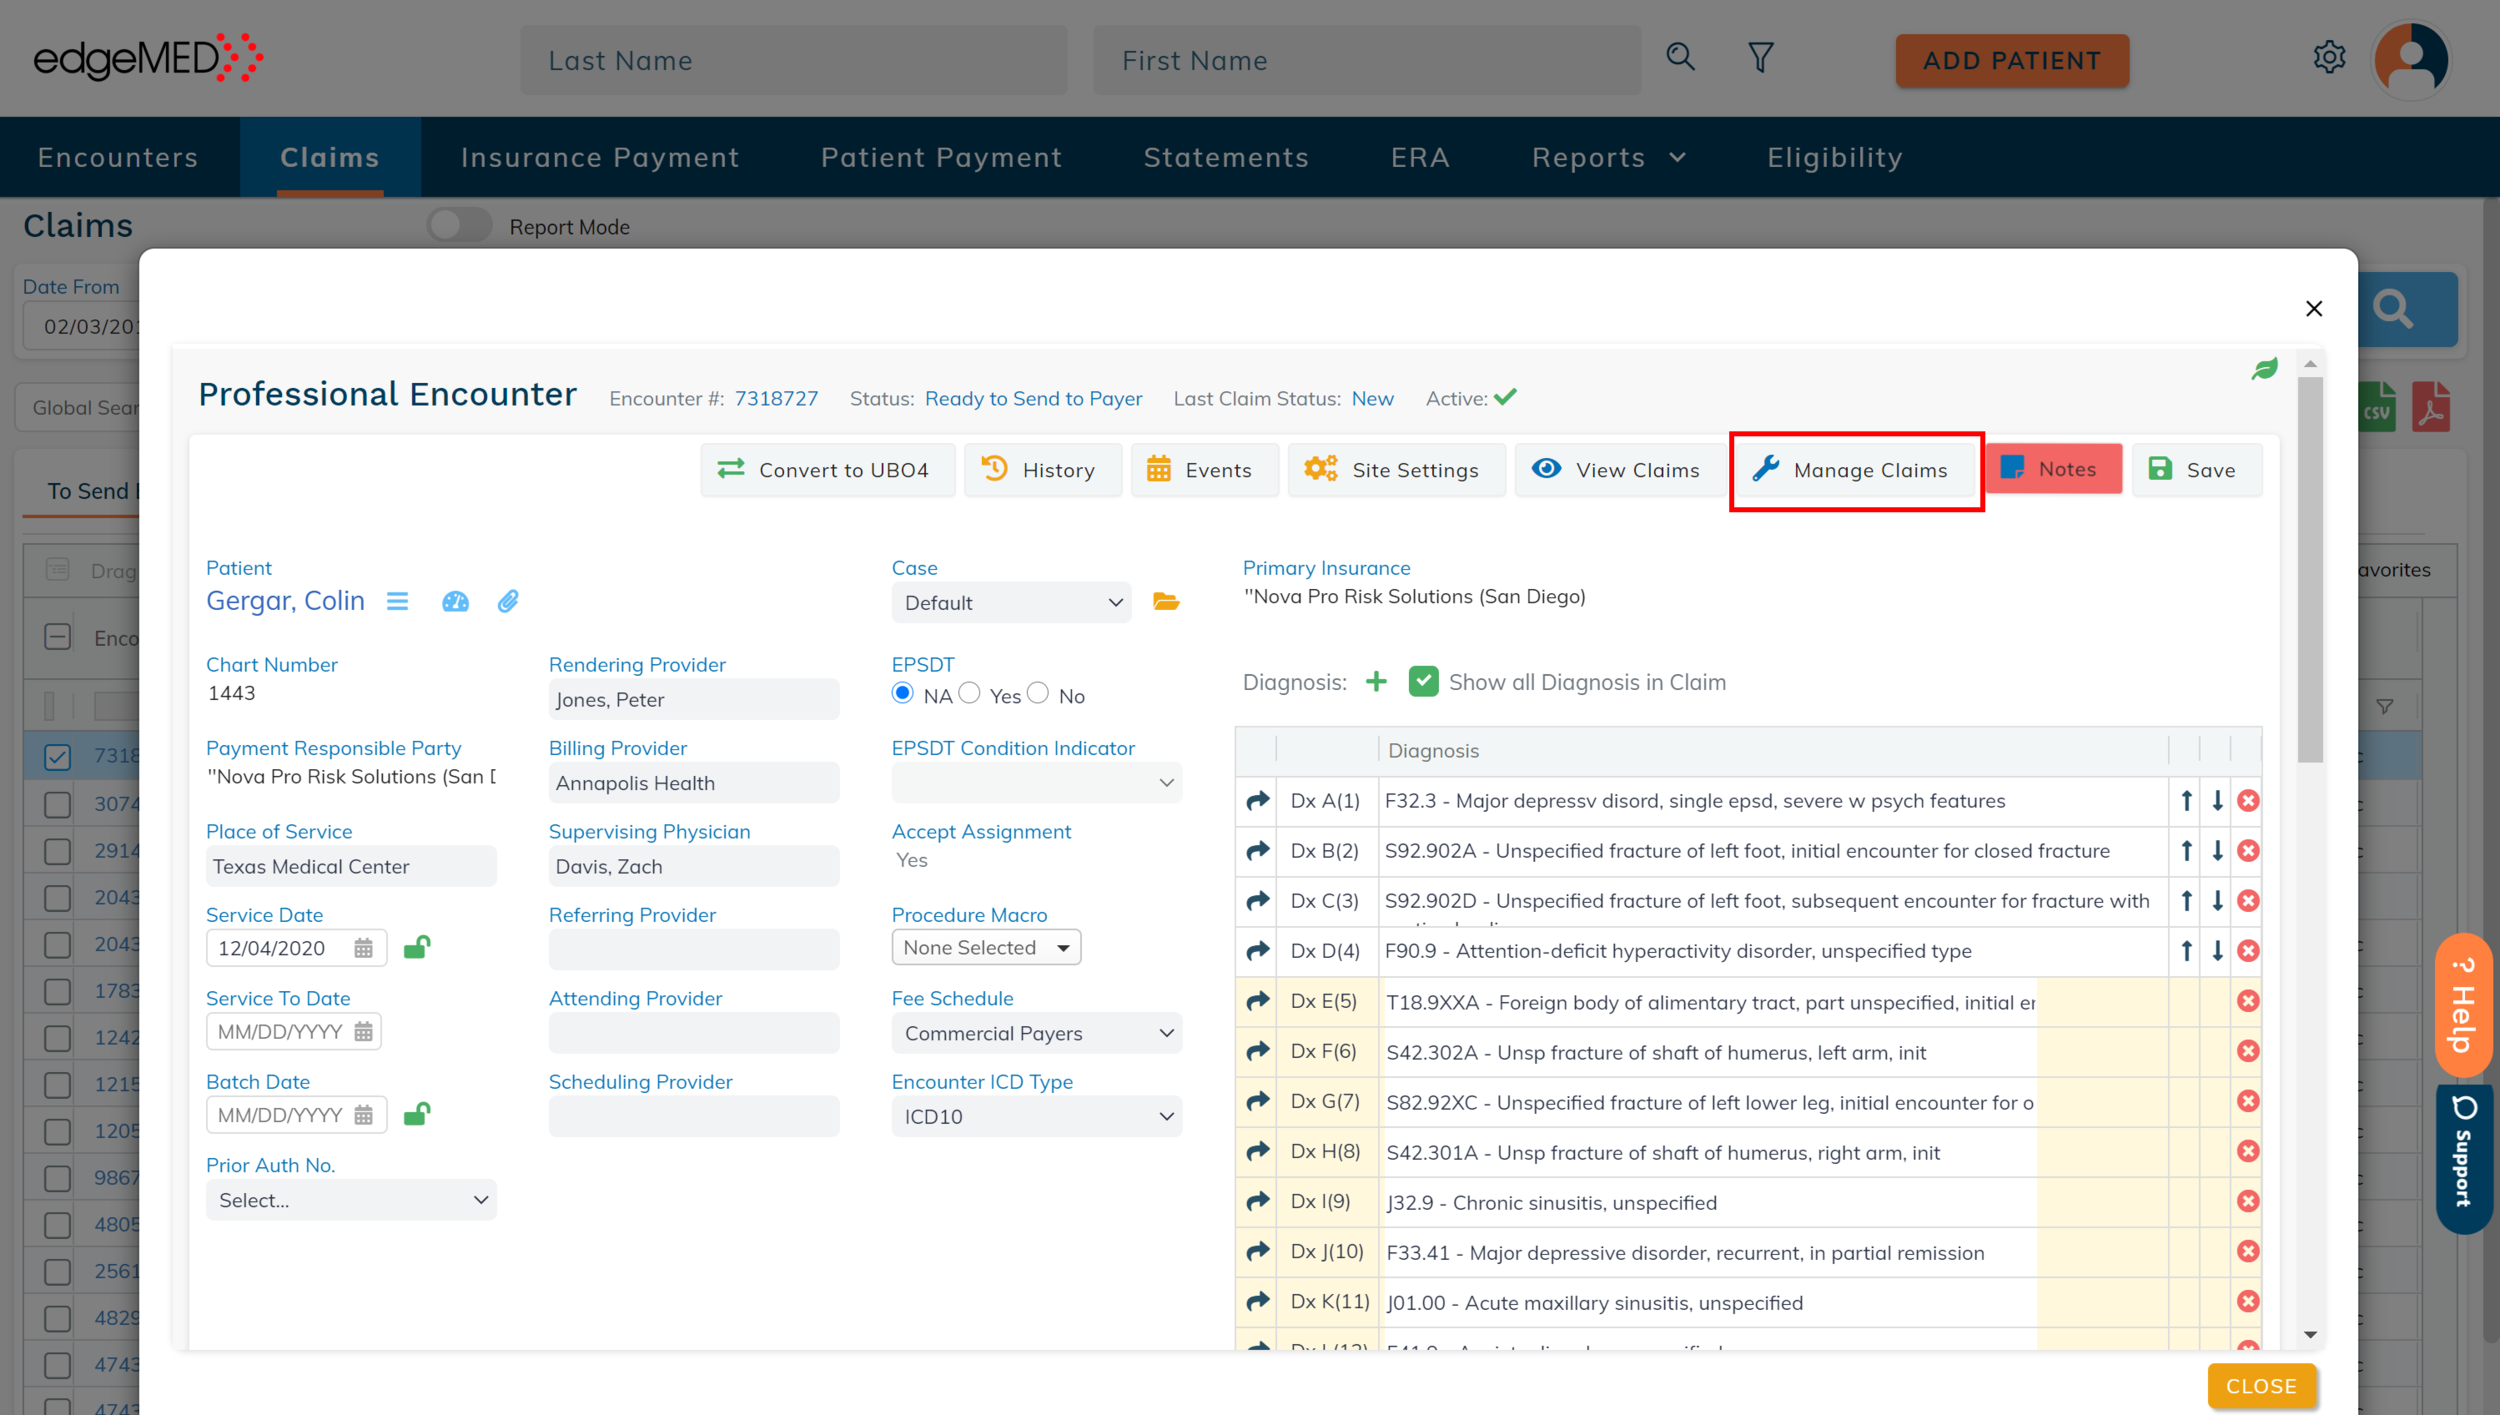
Click Manage Claims.
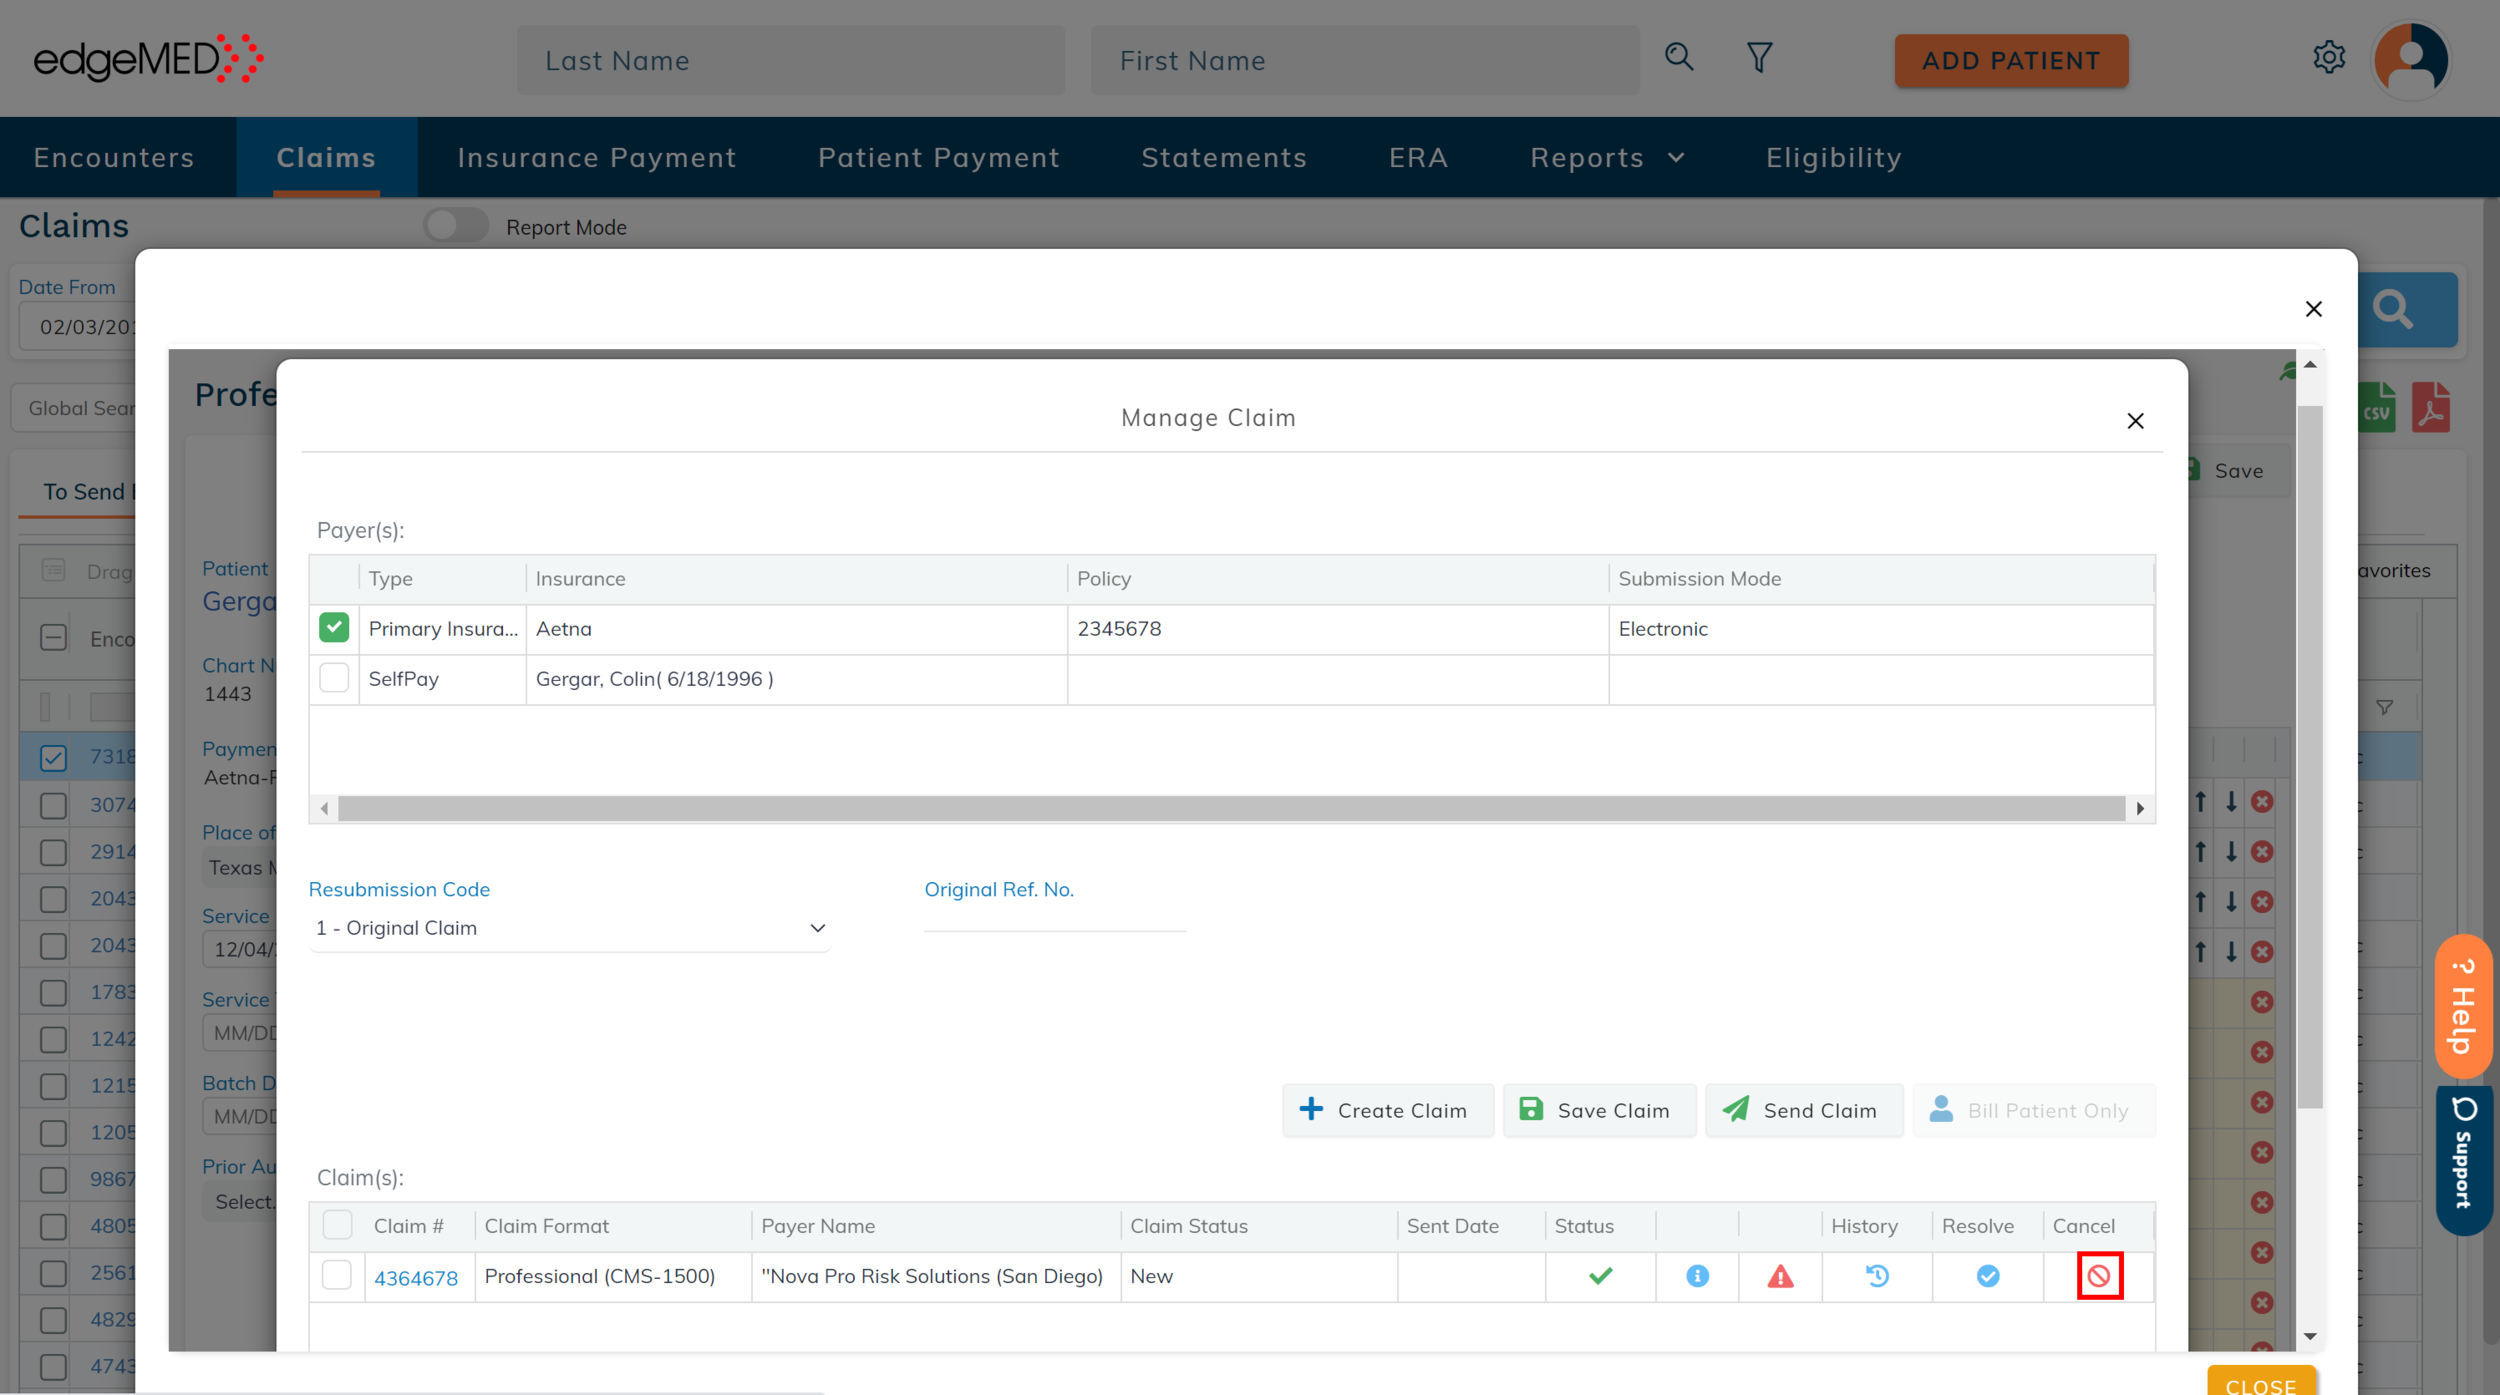
Click the Cancel icon.
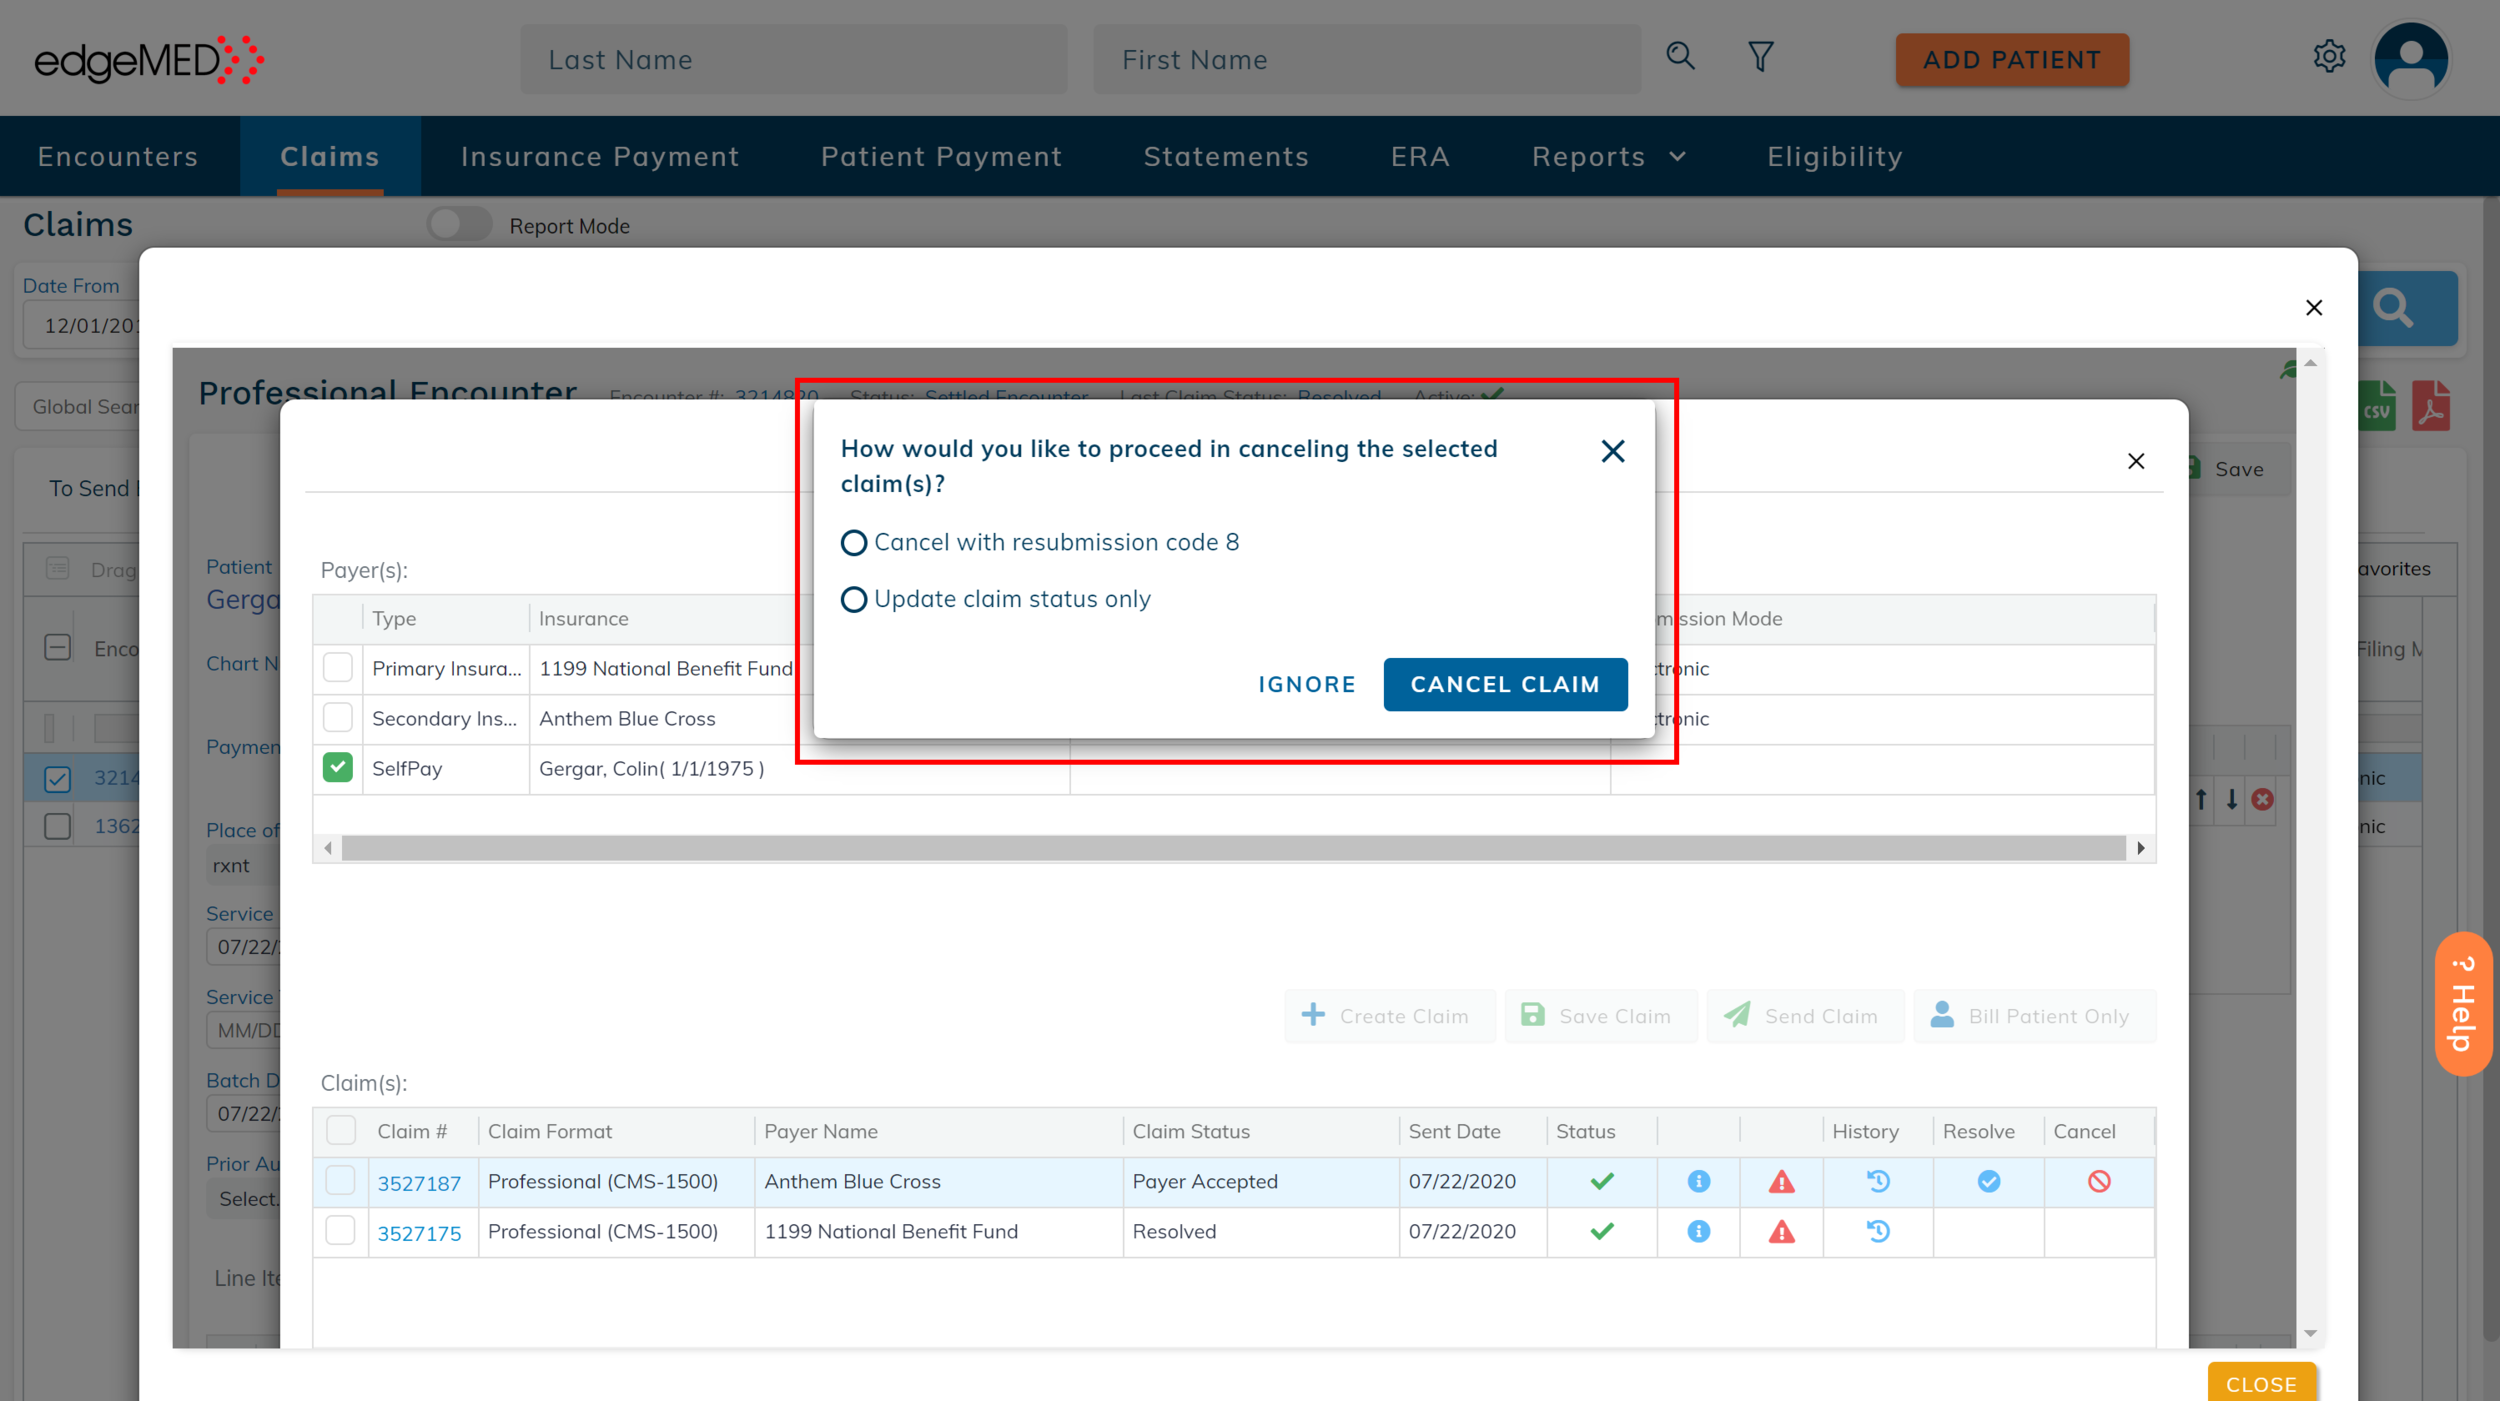
If this claim is pending for payment or if no response is received from the payer, the above pop-up appears.
Cancel with resubmission code 8: sends another claim (with the same information that was sent in the previous claim), but with a resubmission code 8 that indicates to the clearinghouse and payer that all claims need to be canceled.
`Update claim status only: updates only the claim status in the system without notifying the payer or the clearinghouse.
Select any one of the options. Click Cancel Claim to cancel the claim based on the selected option, or click Ignore if you decide not to cancel the claim.
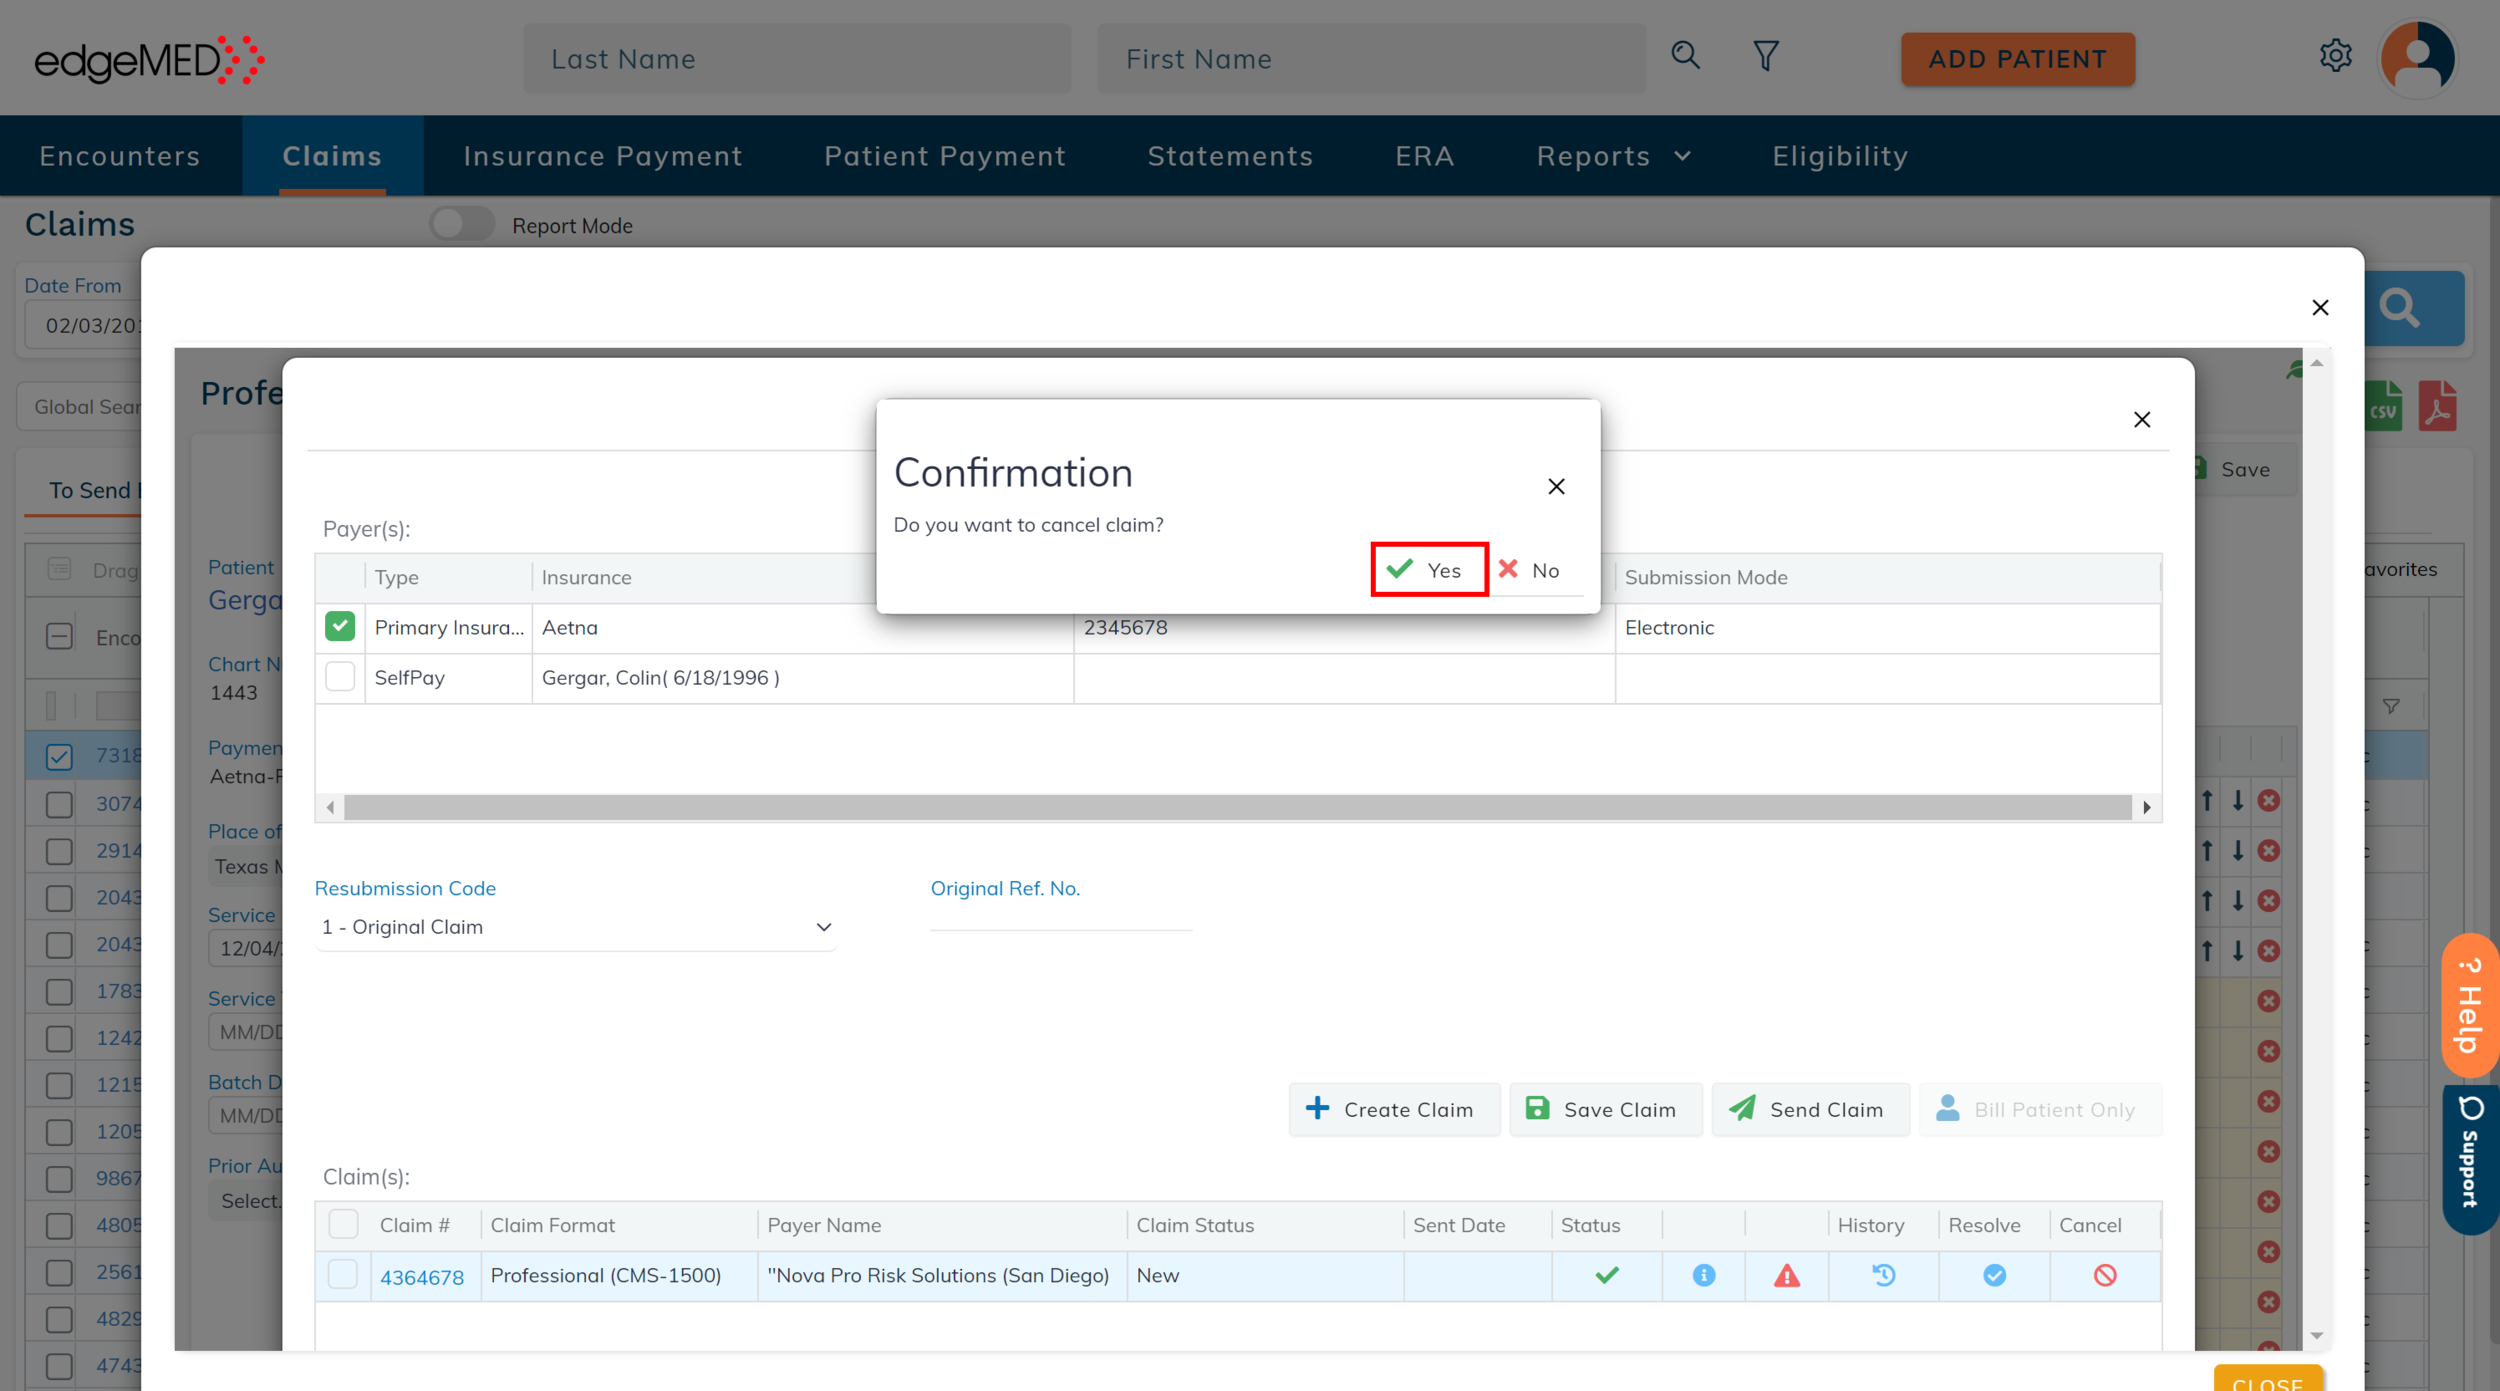
For claims other than pending or no response, only a confirmation pop-up appears. Click Yes to update the claim status in the system.
Canceling Multiple Claims
To quickly cancel bulk claims at once, follow the steps below.

Click Claims.

Click on any of the following tabs:
To Send Electronic
To Print
Pending
No Response
Rejected
Denied/Left Open

Select one or more claims. Next, click Cancel Checked.
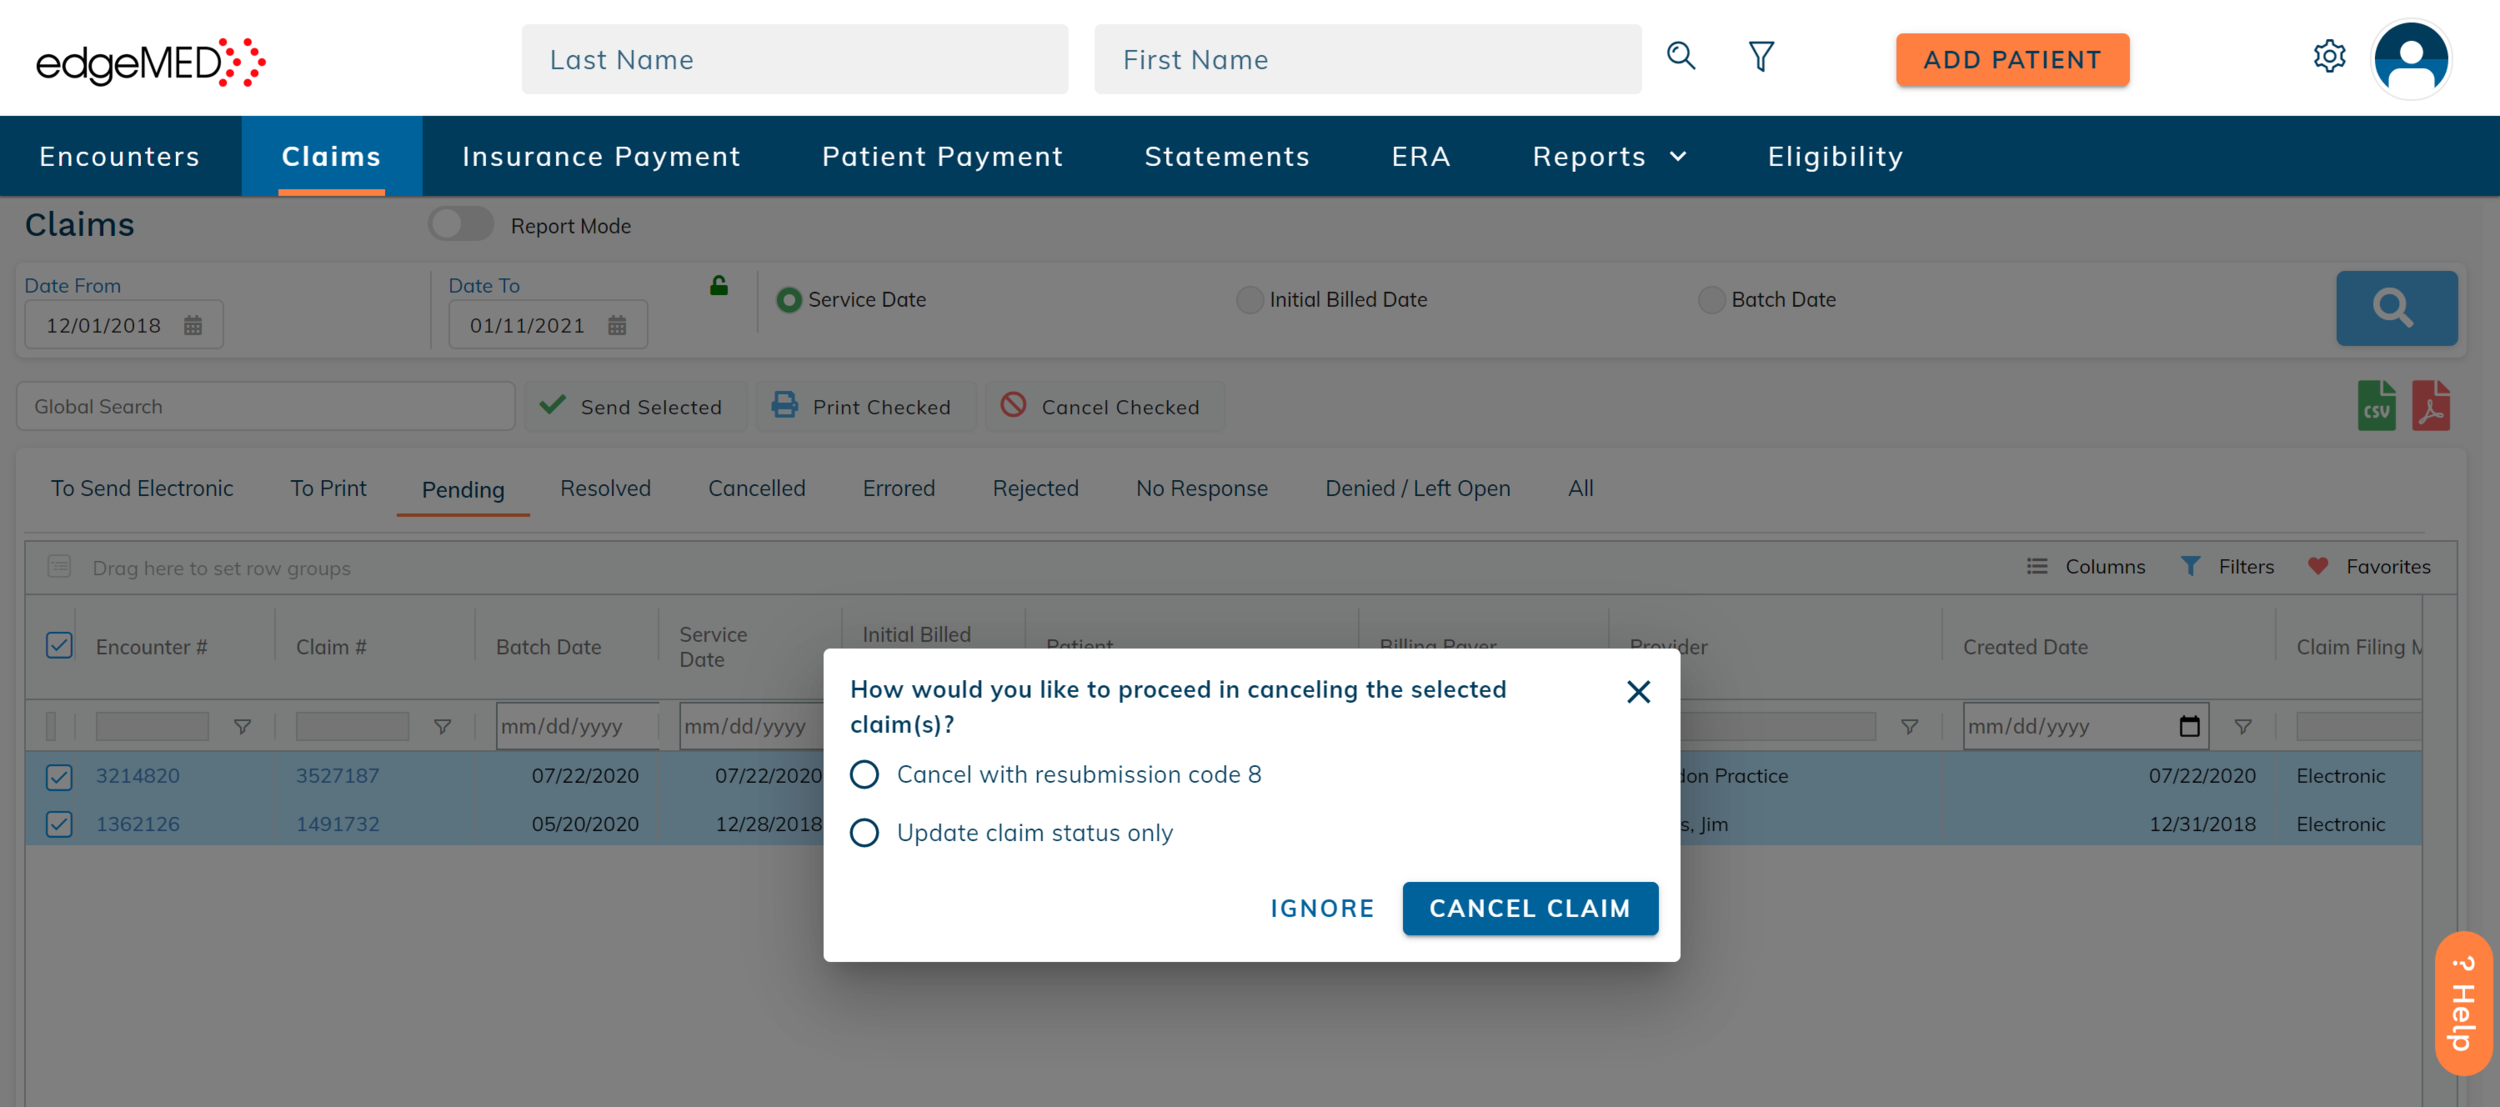
In the Pending and No Response tabs, the following pop-up options appear.
Cancel with resubmission code 8: sends another claim (with the same information that was sent in the previous claim), but with a resubmission code 8 that indicates to the clearinghouse and payer that all claims need to be canceled.
`Update claim status only: updates only the claim status in the system without notifying the payer or the clearinghouse.
Click Cancel Claim to cancel claim(s) based on the selected option or click Ignore if you decide not to cancel claim(s).

In any other tab only a confirmation pop-up appears, click Yes to cancel the selected claim(s).