

edgeMED Help Center > Practice Management > Billing
Add or update a payer.
Select a topic below or scroll through the page for all content.
The master payer list in the edgeMED Billing and Scheduler products is taken from the Change Healthcare Trading Partner API. This API provides access to the most up-to-date payer details. Billing or office managers will be able to add new payers with the latest information into the system. This change will help prevent potential claim rejections caused due to incorrect payer information.
This implementation will only affect adding payers into the system. The payers already existing in the system, will remain the same.
Add a New Payer

Click on Utilities icon at upper right corner of the screen.

Click on Practice Setup and Insurance Companies.

Click + New Payer.

Click on Select from Master Payer List.
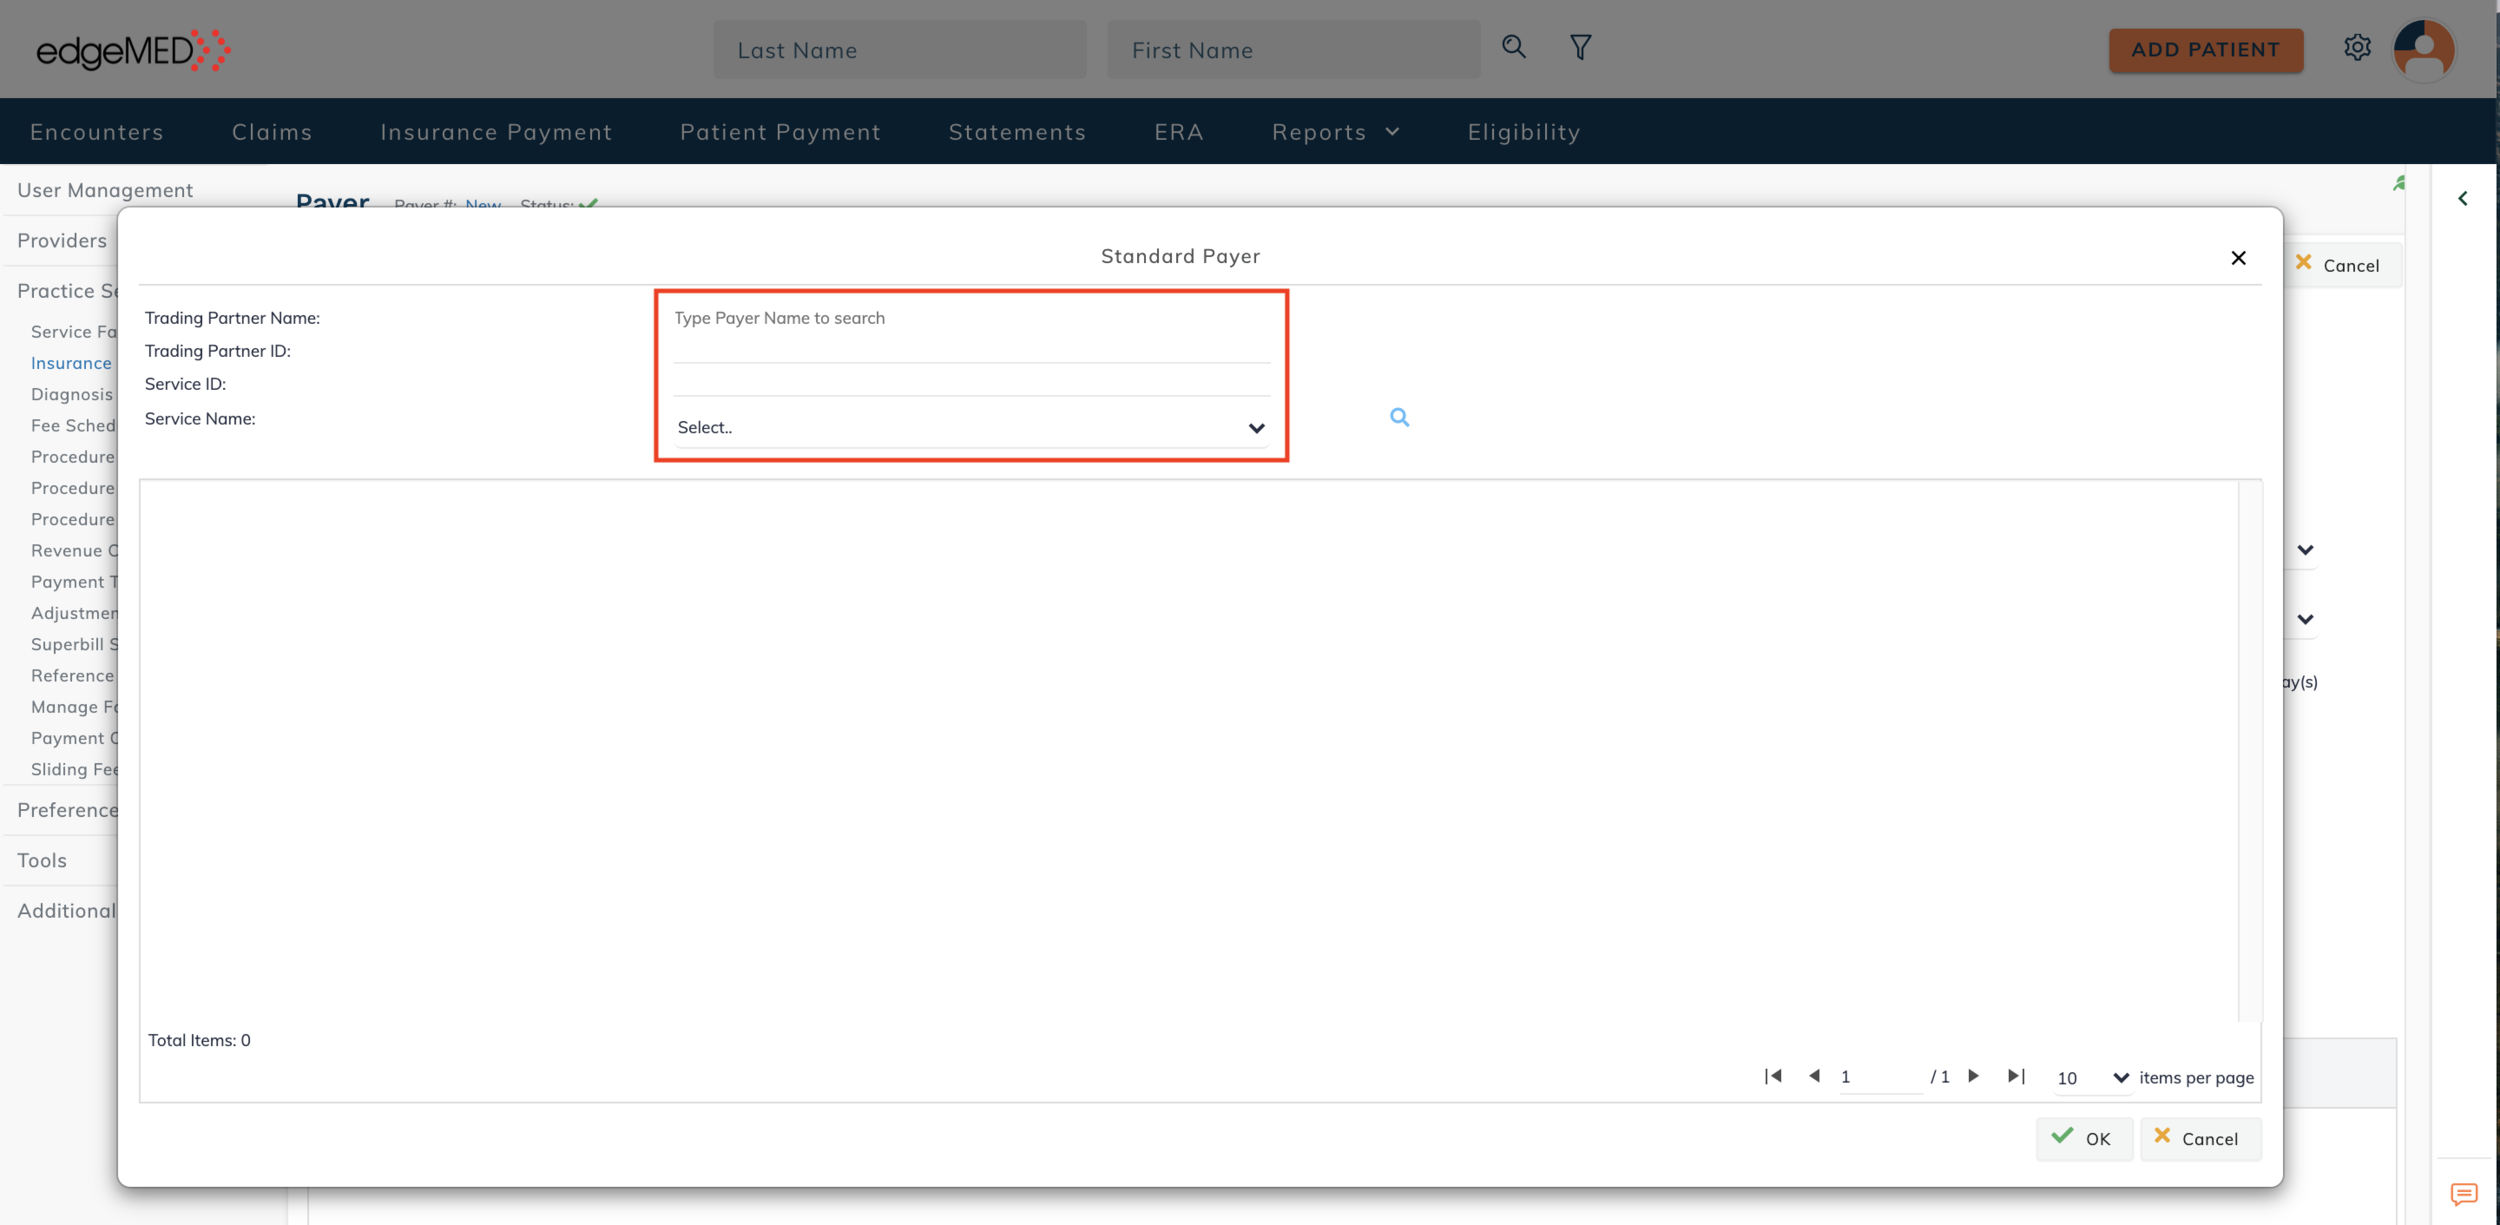
Enter a value in any of the following fields:
Trading Partner Name: This is the payer name. For example, Aetna.
Trading Partner ID: This ID used to identify trading partners and payers in the API
Service ID: This is the payer ID.
Service Name: Select a value from the drop-down containing the following options:
Professional Claims
Institutional Claims
Dental Claims
Eligibility

Click on the Search icon. This will retrieve the latest information for the associated payer using the Trading Partner API.

Select a payer from the returned search results. Once selected, click the OK button located at the lower right corner of screen.

The payer data will be populated on the Payer screen.
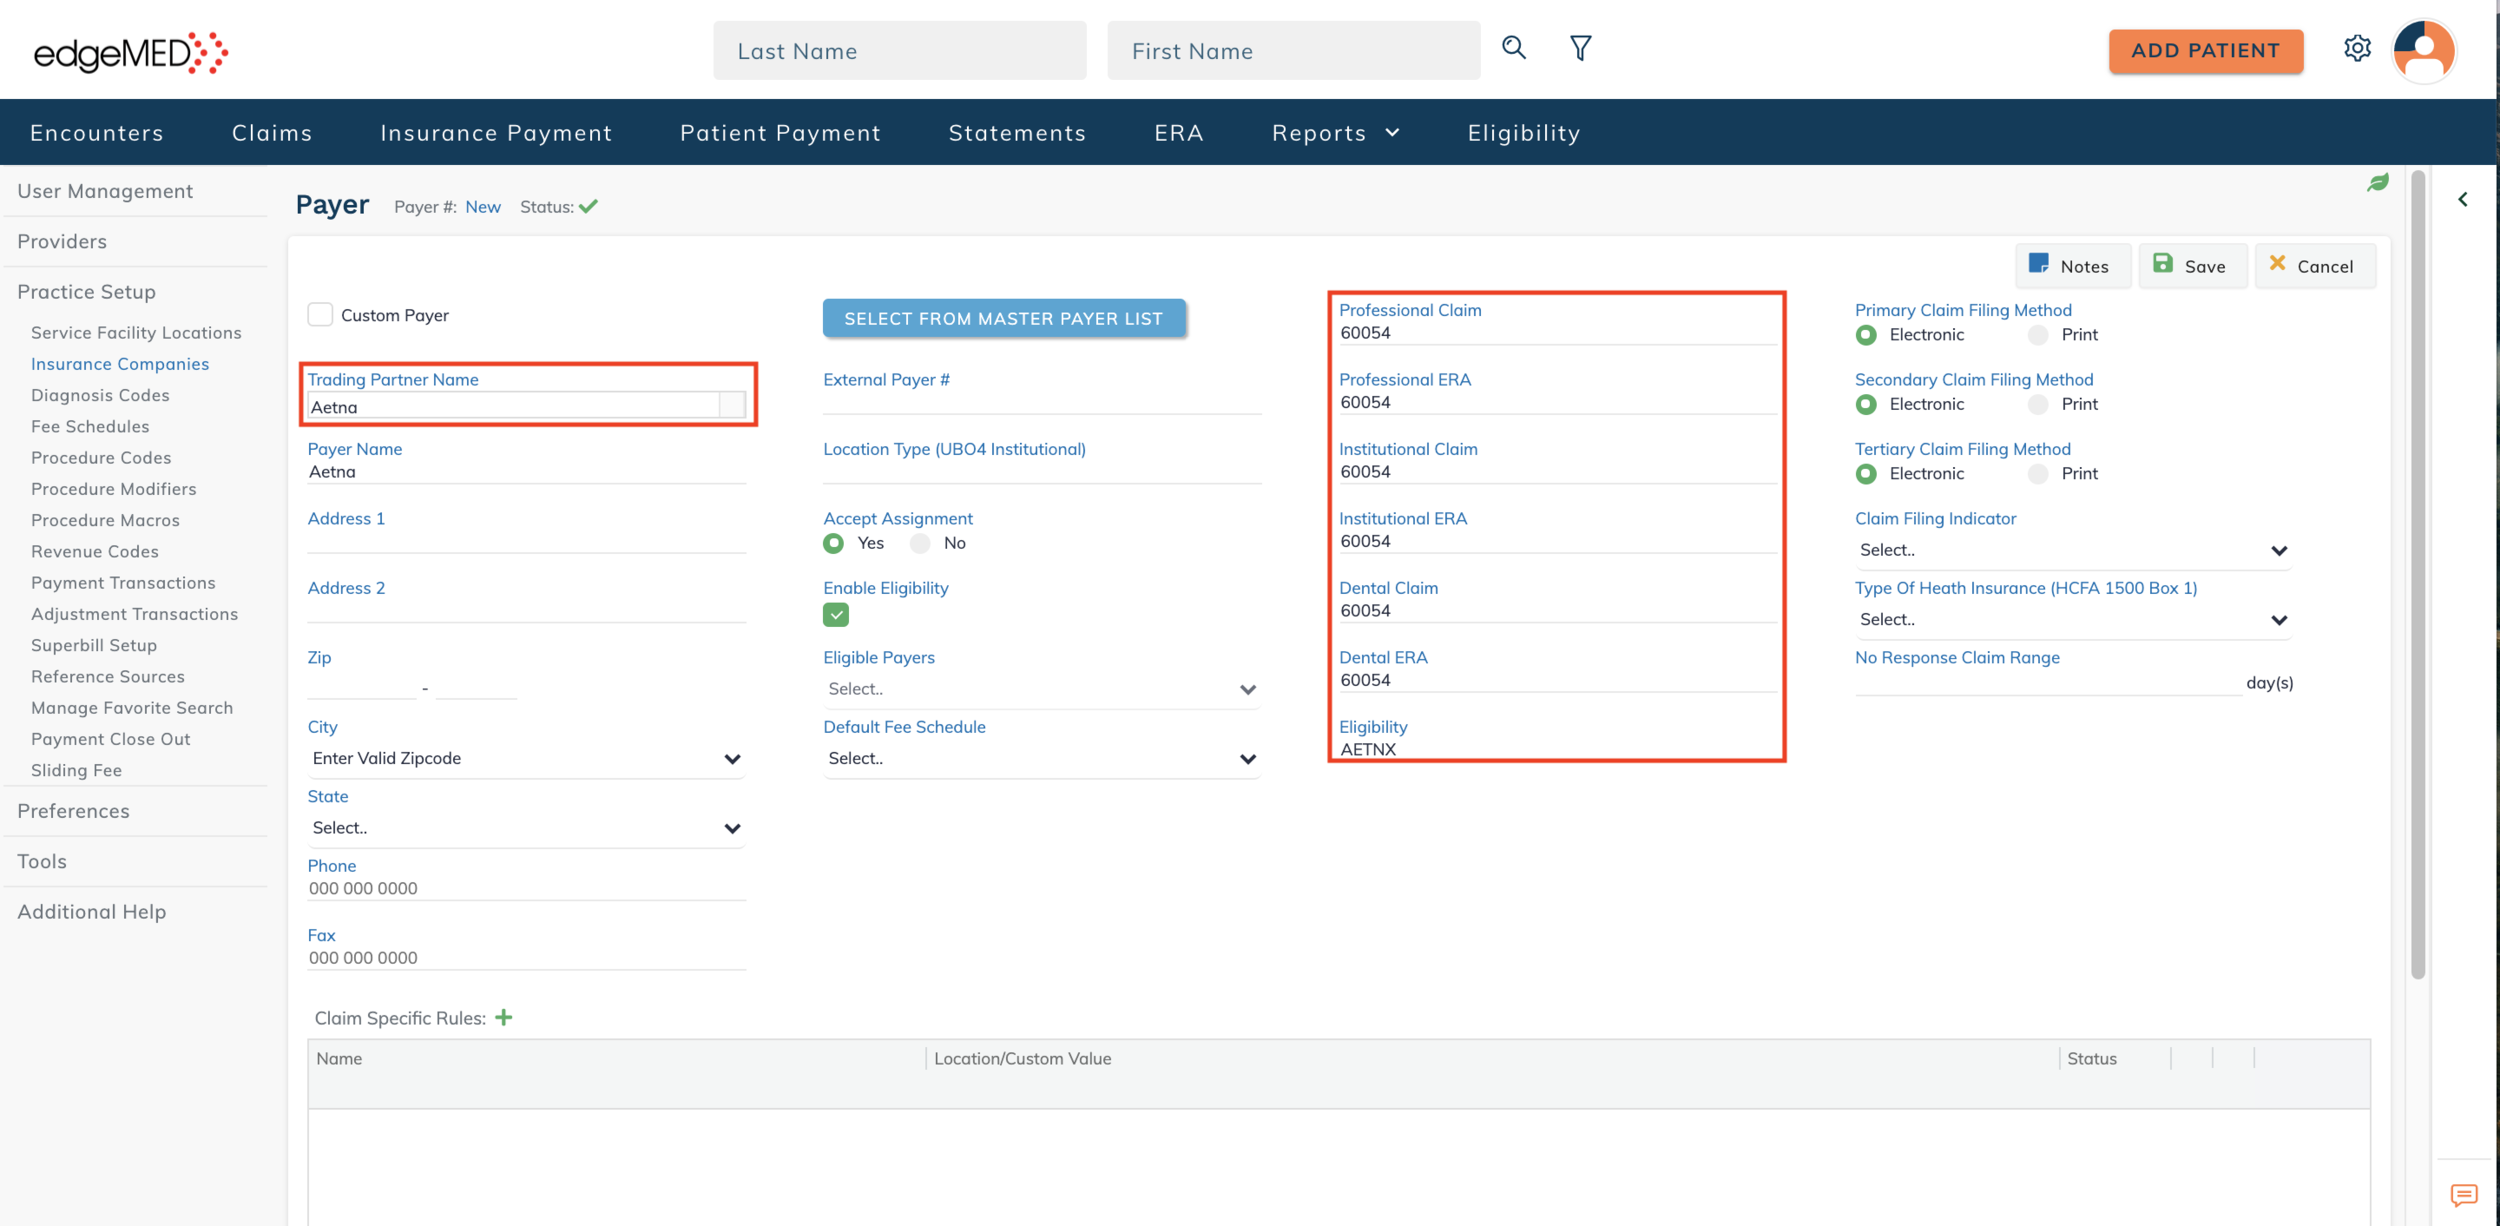
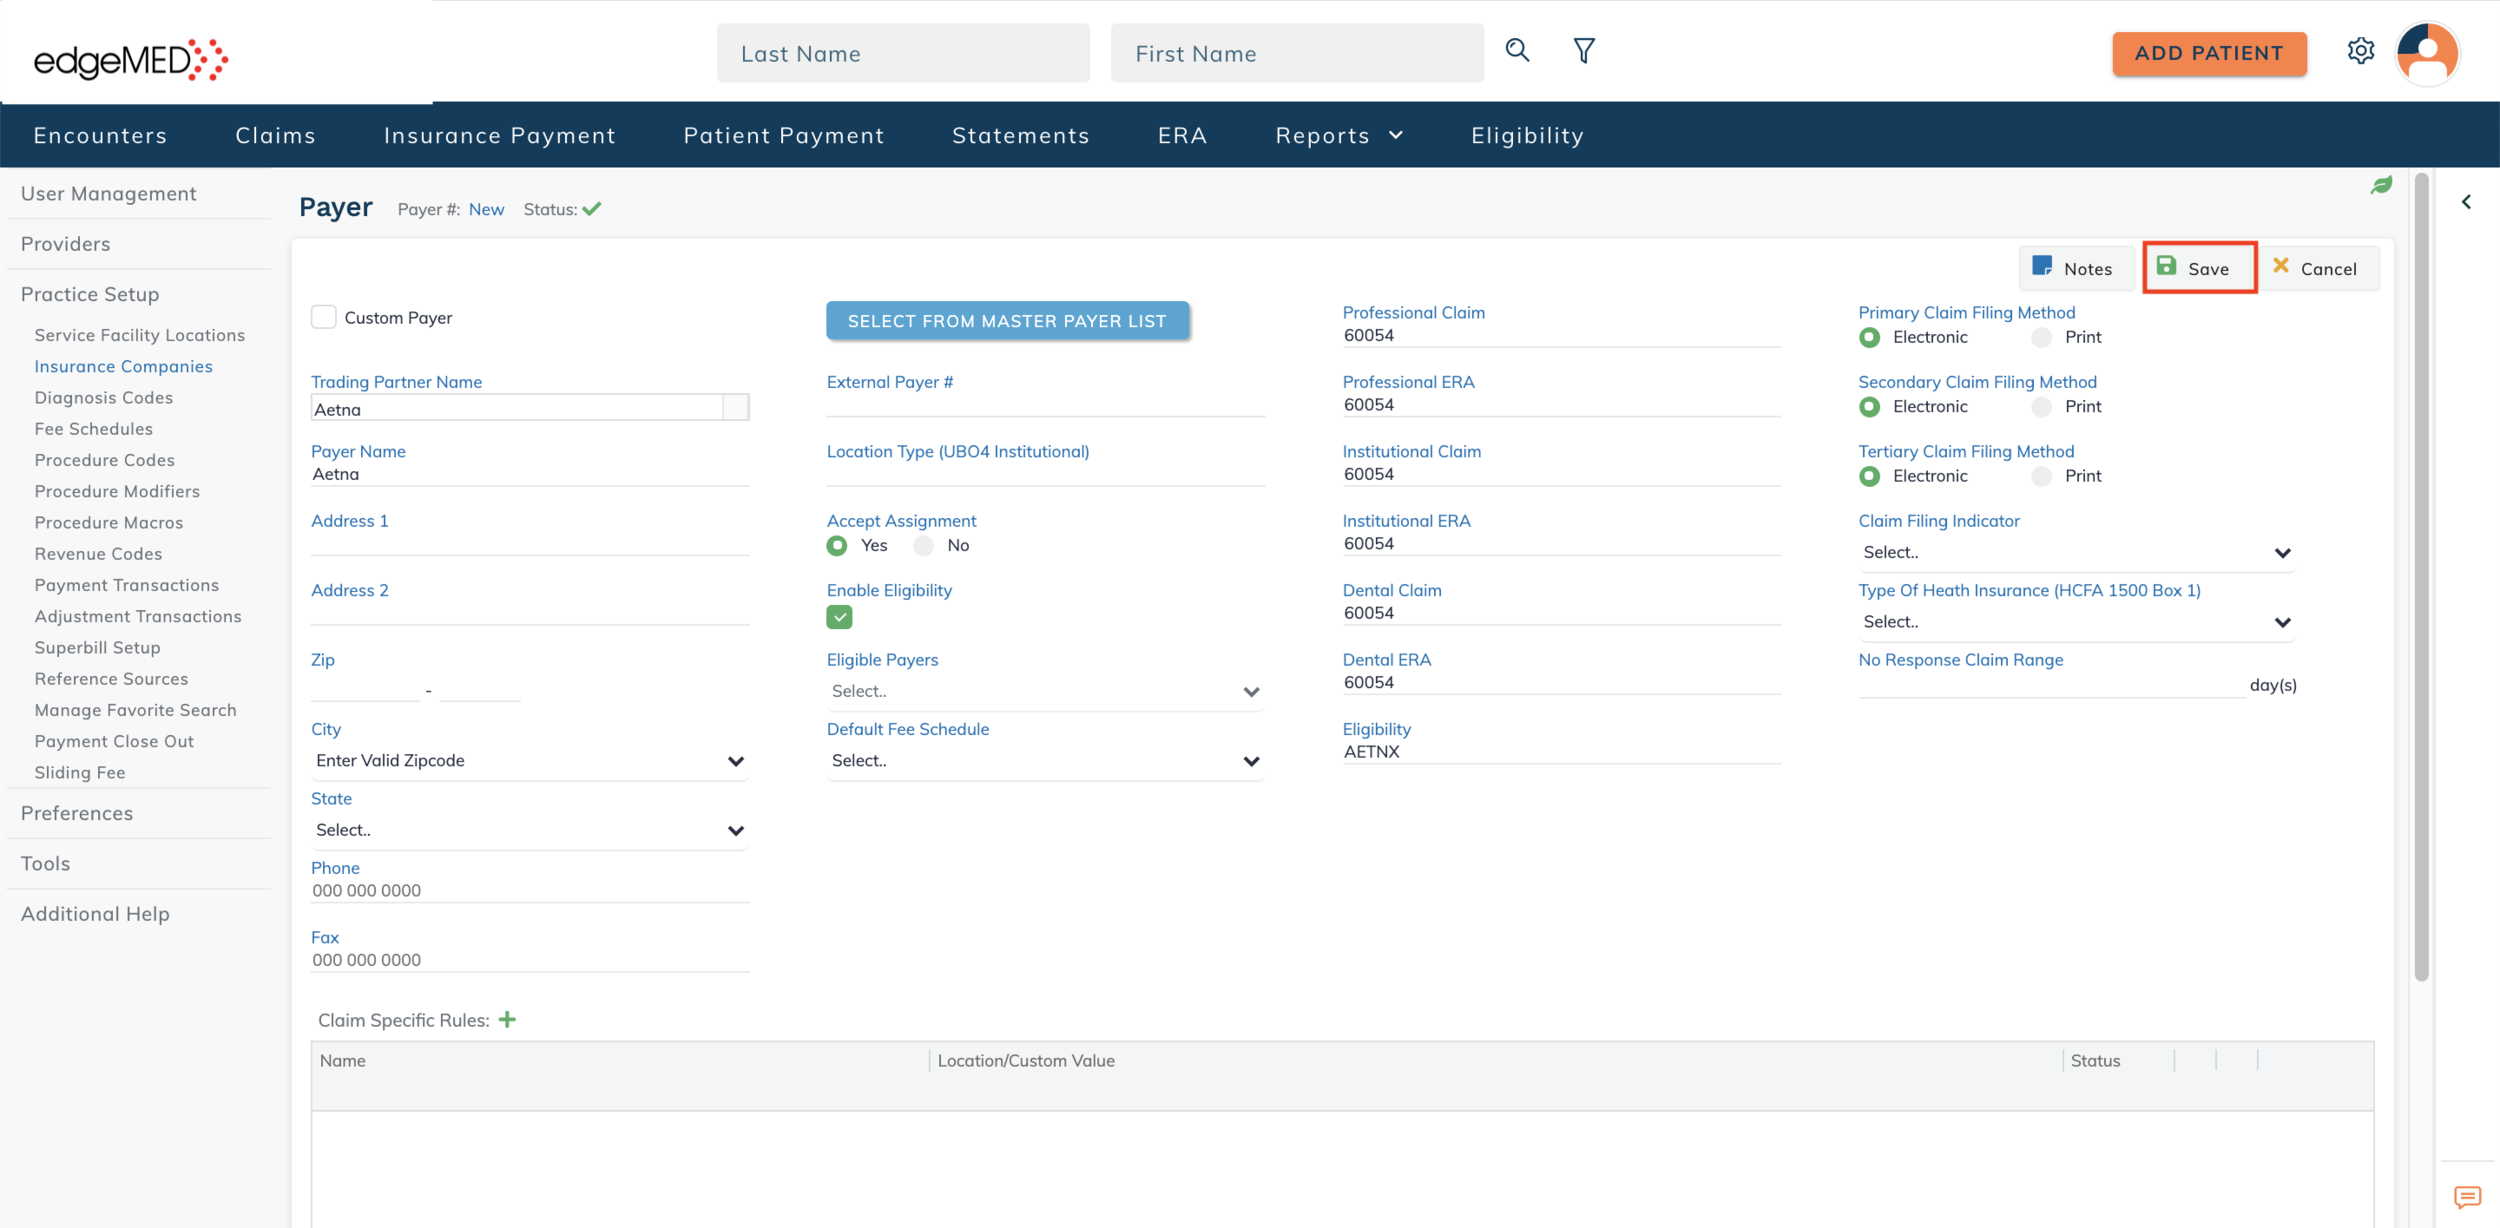
Enter the required information and click on Save. This saves the payer in our system.
Please note that the following fields cannot be edited:
Trading Partner Name
Professional Claim
Professional ERA
Institutional Claim
Institutional ERA
Eligibility
Update a Payer
If you have received the following message after the claim scrubbing process is complete: “The payer ID for this claim is no longer valid. Please update the payer before resending the claim electronically.”, please follow the instructions below.
Click on Utilities icon at upper right corner of the screen.
Click on Practice Setup and Insurance Companies.

Click on the payer that needs updating.

Click Select from Master Payer List.
Enter search criteria to find the most up-to-date payer information.
Click the Search icon.
Choose the correct payer from the list. Next, click OK located at lower right corner.

Click Proceed to update the payer information.
Click Save.
Or, click Cancel to stop the update from happening.