

edgeMED Help Center > Practice Management > Billing
Activity report.
Select a topic below or scroll through the page for all content.
With edgeMED’s Activity Report, you will find a monthly snapshot that shows the beginning balance, the total charges, payments, adjustments, and write-offs, and the ending balance for the period selected.
Run the Activity Report

Navigate to the reports screen and click Reports.

Select Activity Report from the Report Type drop-down.

Select the Encounter Date Type. Based on the encounter date type selected, your report will change. For example, if you select "Service Date", your activity report will show all charges with a service date within the selected time frame.
Next, select the Payment Date Type. Selecting the payment date type will create a filter for all payments, adjustments, and write-offs that fall within the selected time frame.
Now let's select the time frame for this report. Start by selecting the Month. Then, select the Year.
When done, select Run Report button.
Understanding the Activity Report
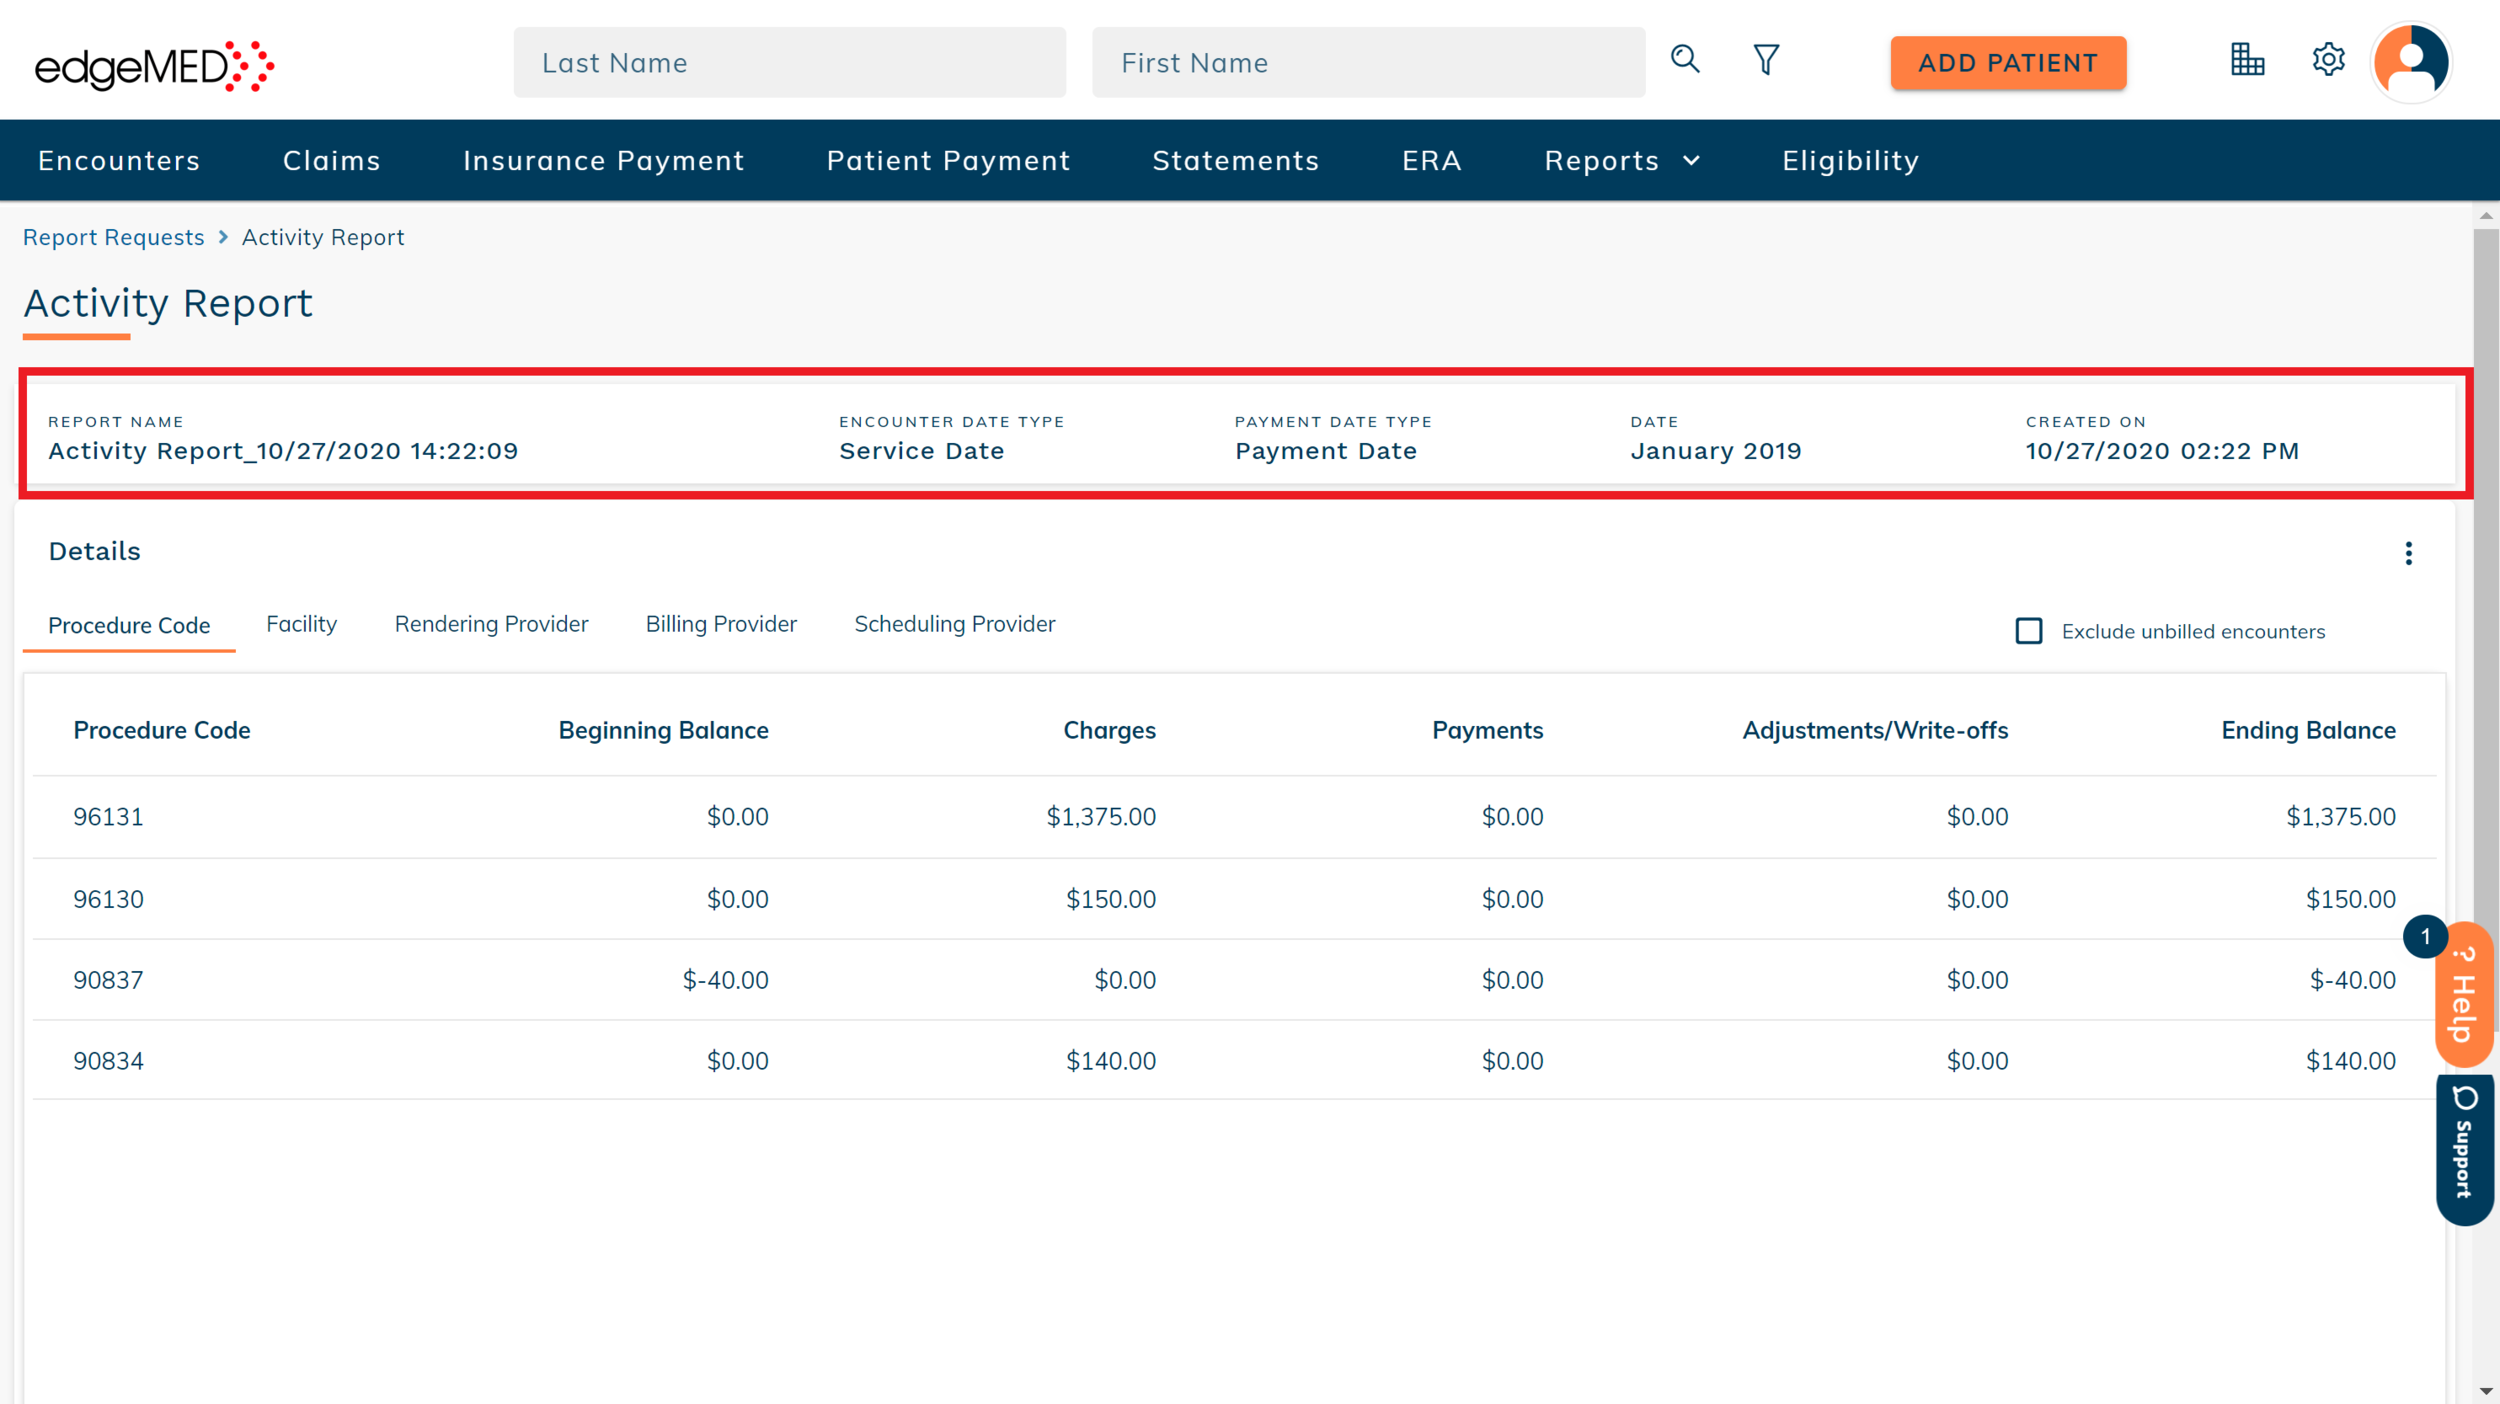
The Activity Report displays the following fields on the top of the report to clearly indicate the details of the report generated:
Report Name: Shows the name of the report.
Encounter Date Type: Displays the selected encounter date type used to run the report.
Payment Date Type: Displays the selected payment date type used to run the report
Date: Shows the Month and Year for which the report was generated.
Created On: Displays the date and time on which the report was created.
The Activity Report has five easy views (tabs across top), where you can see the activity for the practice grouped by the following:
Procedure Code
Facility
Rendering Provider
Billing Provider
Scheduling Provider
Simply click on the various tabs to change your view.

The first column shows you the procedure codes, facility, rendering provider, billing provider, and scheduling provider associated with the charges in their respective tabs.
When a value is not present for a charge or payment, the charge and payment amount will be still be calculated but you will find those records at the bottom of each tab grouped under the following names:
No Procedure Code
No Facility
No Rendering Provider
No Billing Provider
No Scheduling Provider

The second column, Beginning Balance, shows the beginning balance of the selected month which is always equal to the ending balance of the previous month.
The third column, Charges, shows the total charge amount associated with each record within the selected time frame.
The fourth column, Payments, shows the total payments made for the selected time frame.
The fifth column, Adjustments/Write-off’s, shows the total adjustments and write-offs made in the selected time frame. The total adjustments and write-offs are obtained from the payment information.
The last column, Ending Balance, shows the total ending balance for the selected month. The total ending balance is calculated using the following formula: Beginning Balance + Charges - Payments - Adjustments/Write-offs = Ending Balance
The Ending Balance for the current month will always be equal to the beginning balance of the next month.

You will also notice that the totals of each tab will always be equal to each other for the selected time frame as the total activity will not change based on the grouping selected.
Exclude Unbilled Encounters

Unbilled encounters contain information that can change. If you want to see a more solidified view of your data, simply choose to exclude unbilled encounters from the Activity Report by clicking on the checkbox to Exclude unbilled encounters.
Export the Activity Report to CSV

If you need to export your data, click on the More Menu icon.

Select the option to Download CSV to download the CSV file for the current tab of the Activity Report.