

edgeMED Help Center > Electronic Health Records > EHR
Create a patient encounter.
Start a New Patient Encounter from Today’s Appointments

Patients that have been checked-in from the Scheduler will appear in Today's Appointments. Click Today's Appointments or (TA) from the left side menu, or click Today's Appointments on the main header.

Click the green plus sign. Depending on how many columns are included in your Today's Appointments table, you may need to hover over the table and scroll to the right to see the Add Encounter column.

The patient dashboard will automatically launch, and the new encounter pop-up will appear. Select the appropriate Encounter Form from the dropdown. If you don't see the encounter form you need, you can add additional forms to your favorites.
Choose a Macro (if applicable), and select the appropriate Visit Type.
When done, click Go to begin the encounter.
If you have enabled intake workflow, the intake plugins will first show for the encounter. Complete intake and Save the encounter.

Once intake is completed, or if intake workflow is disabled, the full encounter template will populate.
Start a New Patient Encounter from the Patient Dashboard
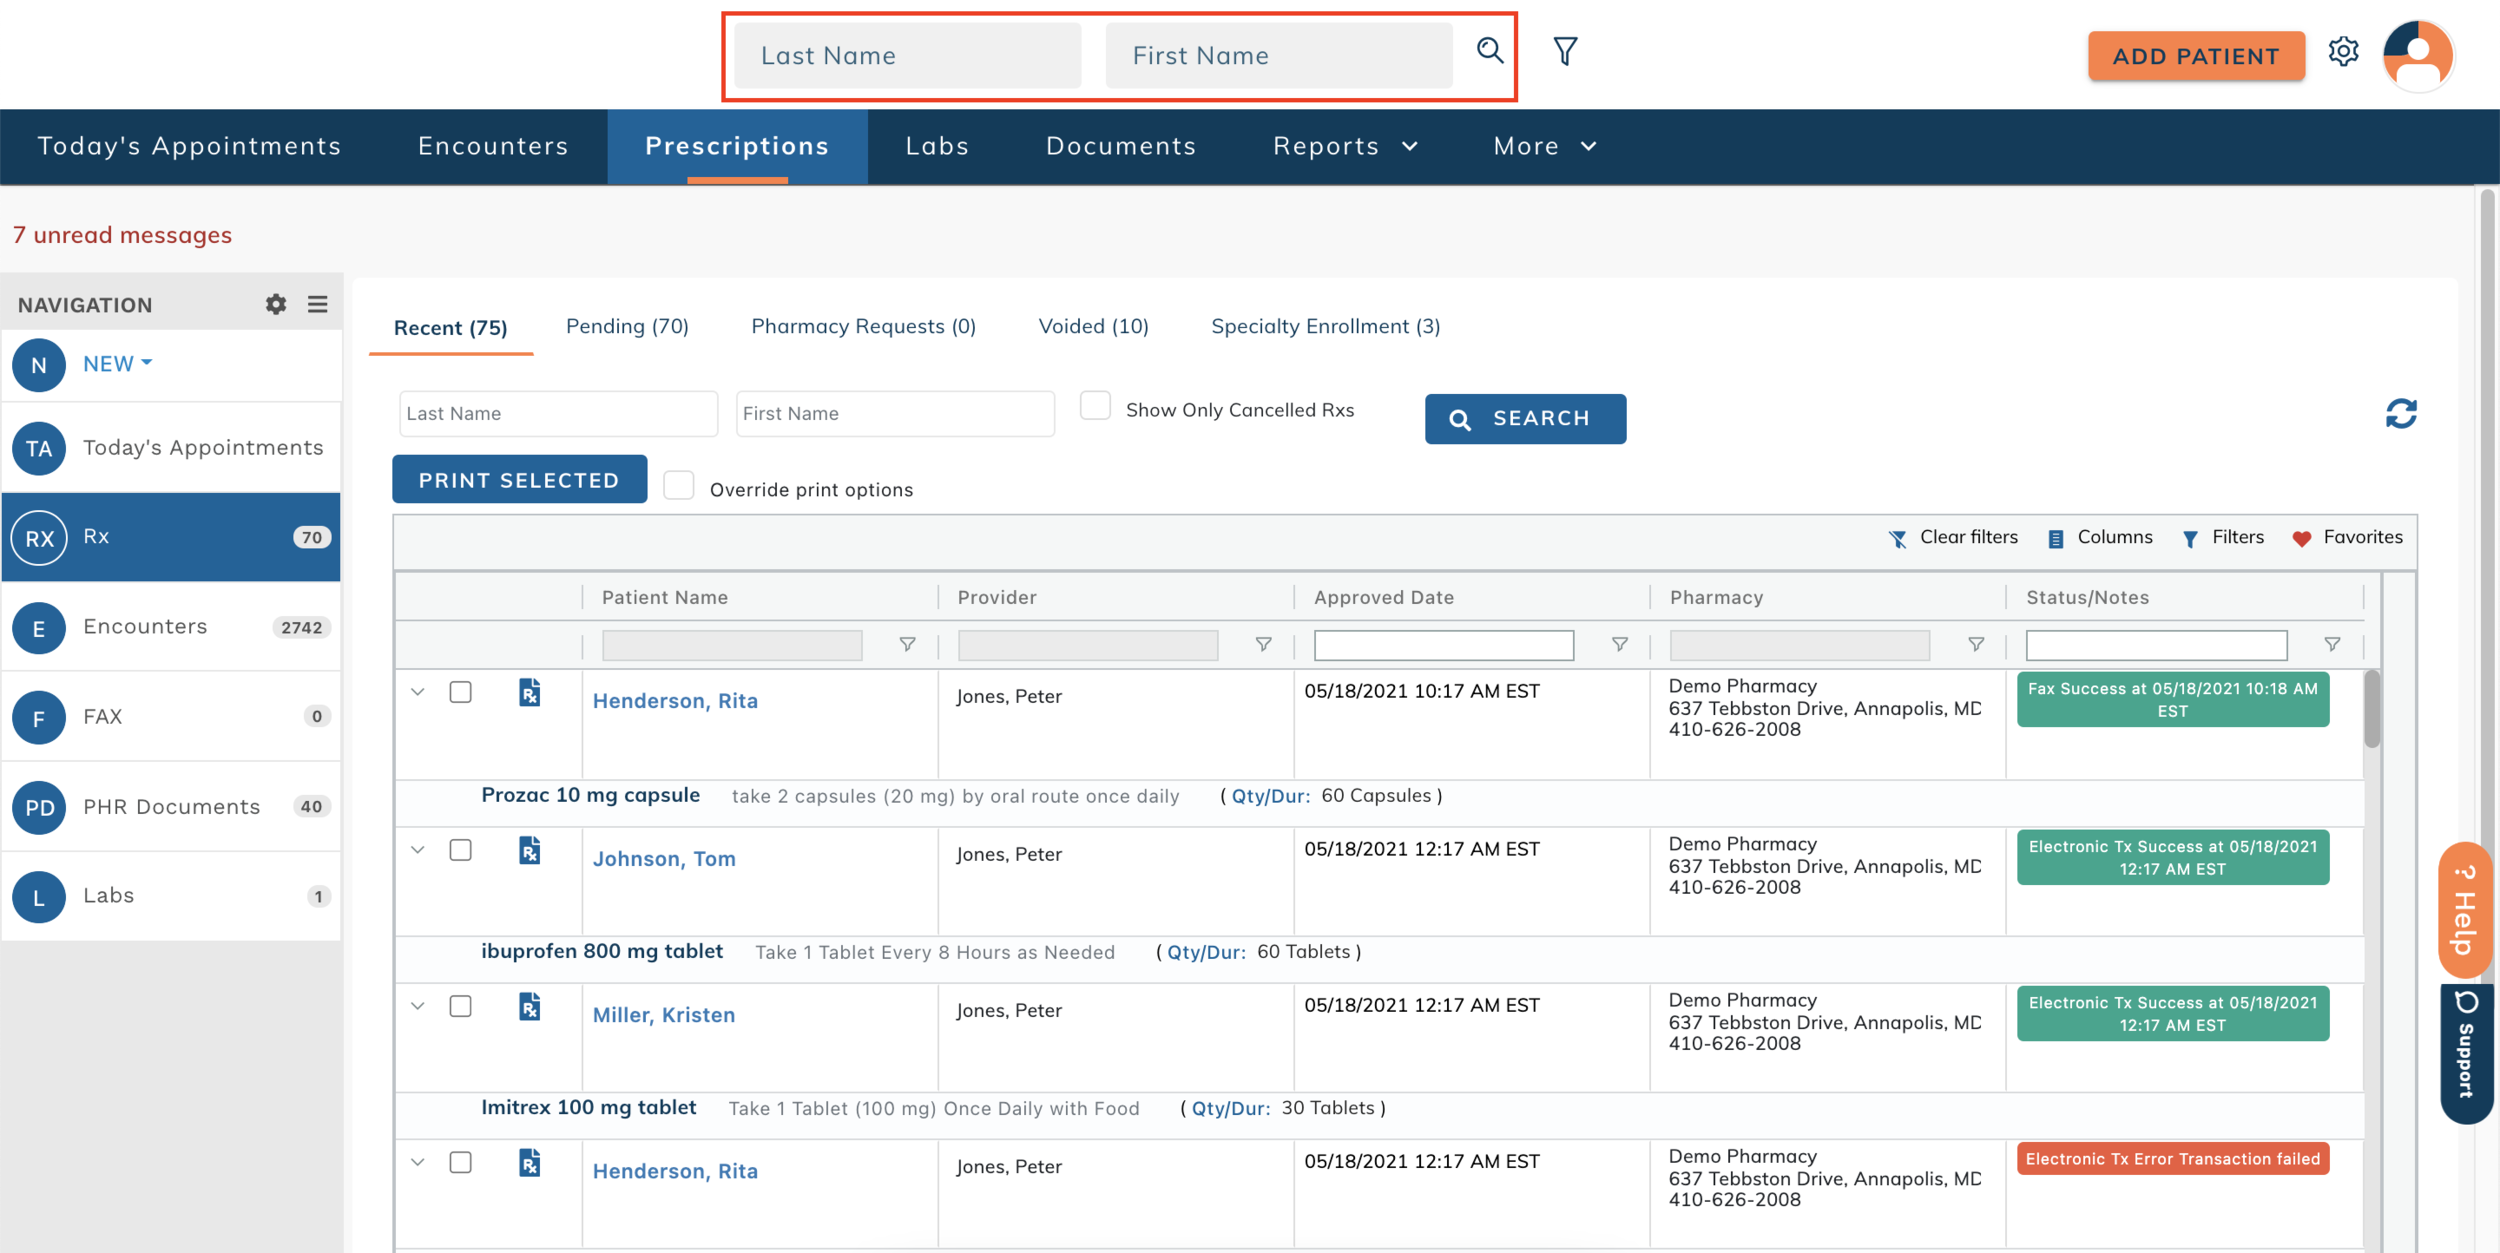
Search for the appropriate patient and launch the Patient Dashboard.

Click Encounters or (E) on the left side navigation.

Click Add Encounter.
Select the appropriate Encounter Form from the dropdown. If you don't see the encounter form you need, you can add additional forms to your favorites.
Choose a Macro (if applicable), and select the appropriate Visit Type.
When done, click Go to begin the encounter.
If you have enabled intake workflow, the intake plugins will first show for the encounter. Complete intake and Save the encounter.
Once intake is completed, or if intake workflow is disabled, the full encounter template will populate.
Link Encounter to Appointment
When creating an encounter from Today's Appointments, the encounter will automatically be linked to the patient's appointment.

When creating an encounter from the Patient Dashboard, use the Visits dropdown to link the encounter to an open appointment. This dropdown will include all of a patient's appointments that have been checked in from the Scheduler and have not already been linked to an encounter.

Link an existing encounter to a patient visit from the Scheduler using the Visits dropdown at the top of the encounter. This dropdown will only be visible if the patient has appointments that have been checked in from the Scheduler and no encounters have been linked to an appointment.
Link an Intake Form to an Encounter
Create a patient encounter from Today's Appointments or the Patient Dashboard. If your patient has a completed intake form available, you'll see the Intake Form option in the new encounter pop up.
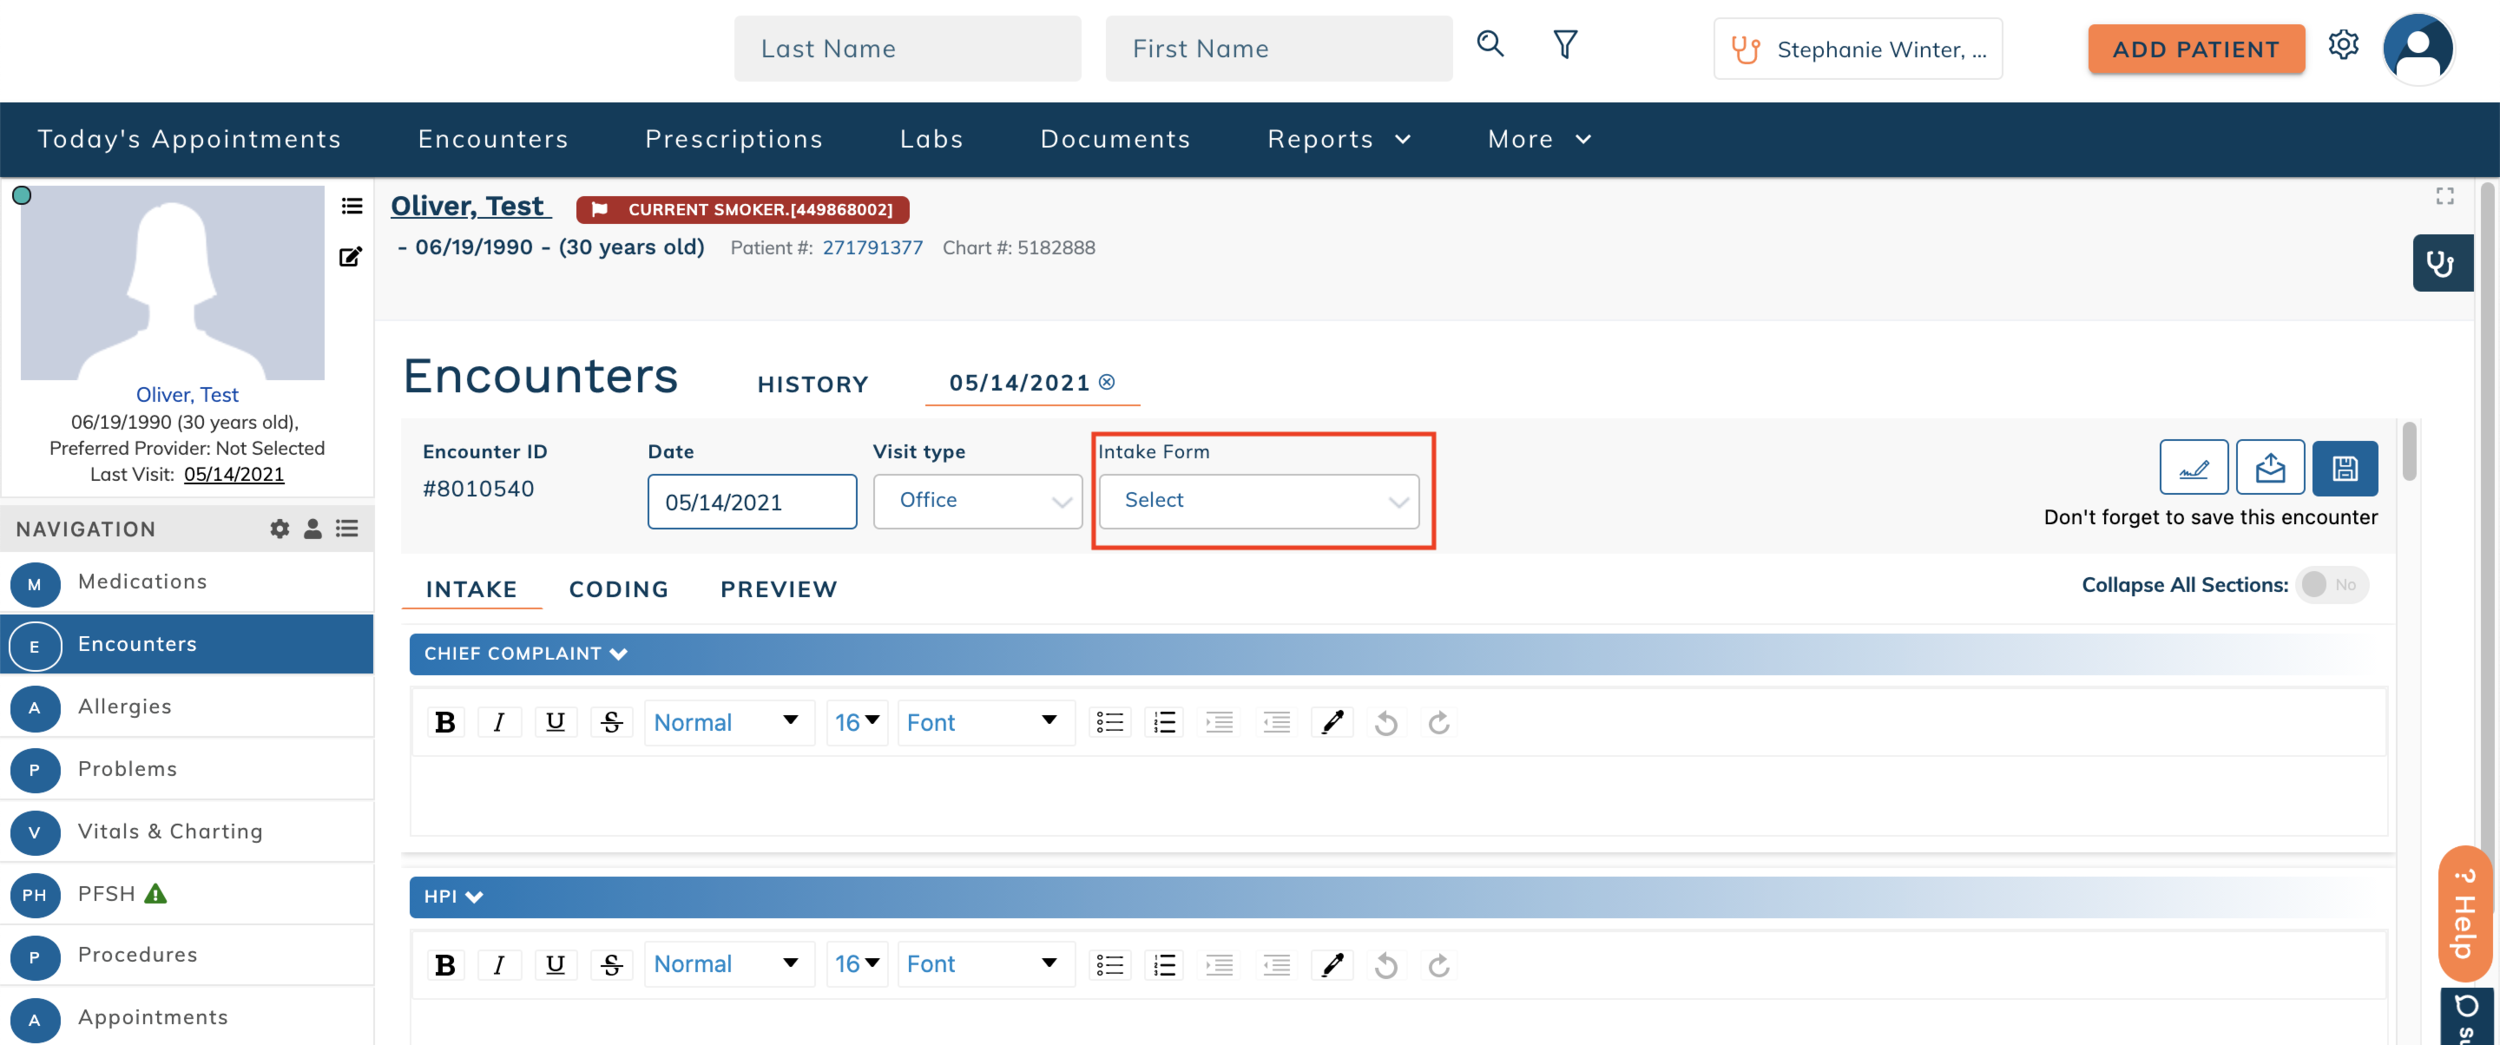
If you create a patient encounter by duplicating a previous one, or if you need to change the linked form, use the dropdown in the Encounter Information section to choose a new intake form.
Intake Form details are shown at the top of the encounter tab when editing. The linked intake form will display at the end of the encounter PDF.
Copy a Patient’s Previous Encounter
If you are using the same encounter form that was used in a previous patient visit, you can use the copy encounter feature to create a new encounter from the patient's previous one. This feature allows all encounter information to copy forward (not just plugin information).
Search for the appropriate patient and launch the Patient Dashboard.

Click Encounters or (E) on the left side navigation.

Click the three dots icon to the right of the patient encounter that should be copied for the new encounter.

Select Duplicate from the action menu. A new encounter will populate with duplicated information. The encounter date will default to the current date. All other encounter details will be identical to the copied encounter.
Add Details to the Encounter

Fill out the encounter details as applicable to the patient.

Click the Expand icon to work on the encounter in full screen view.
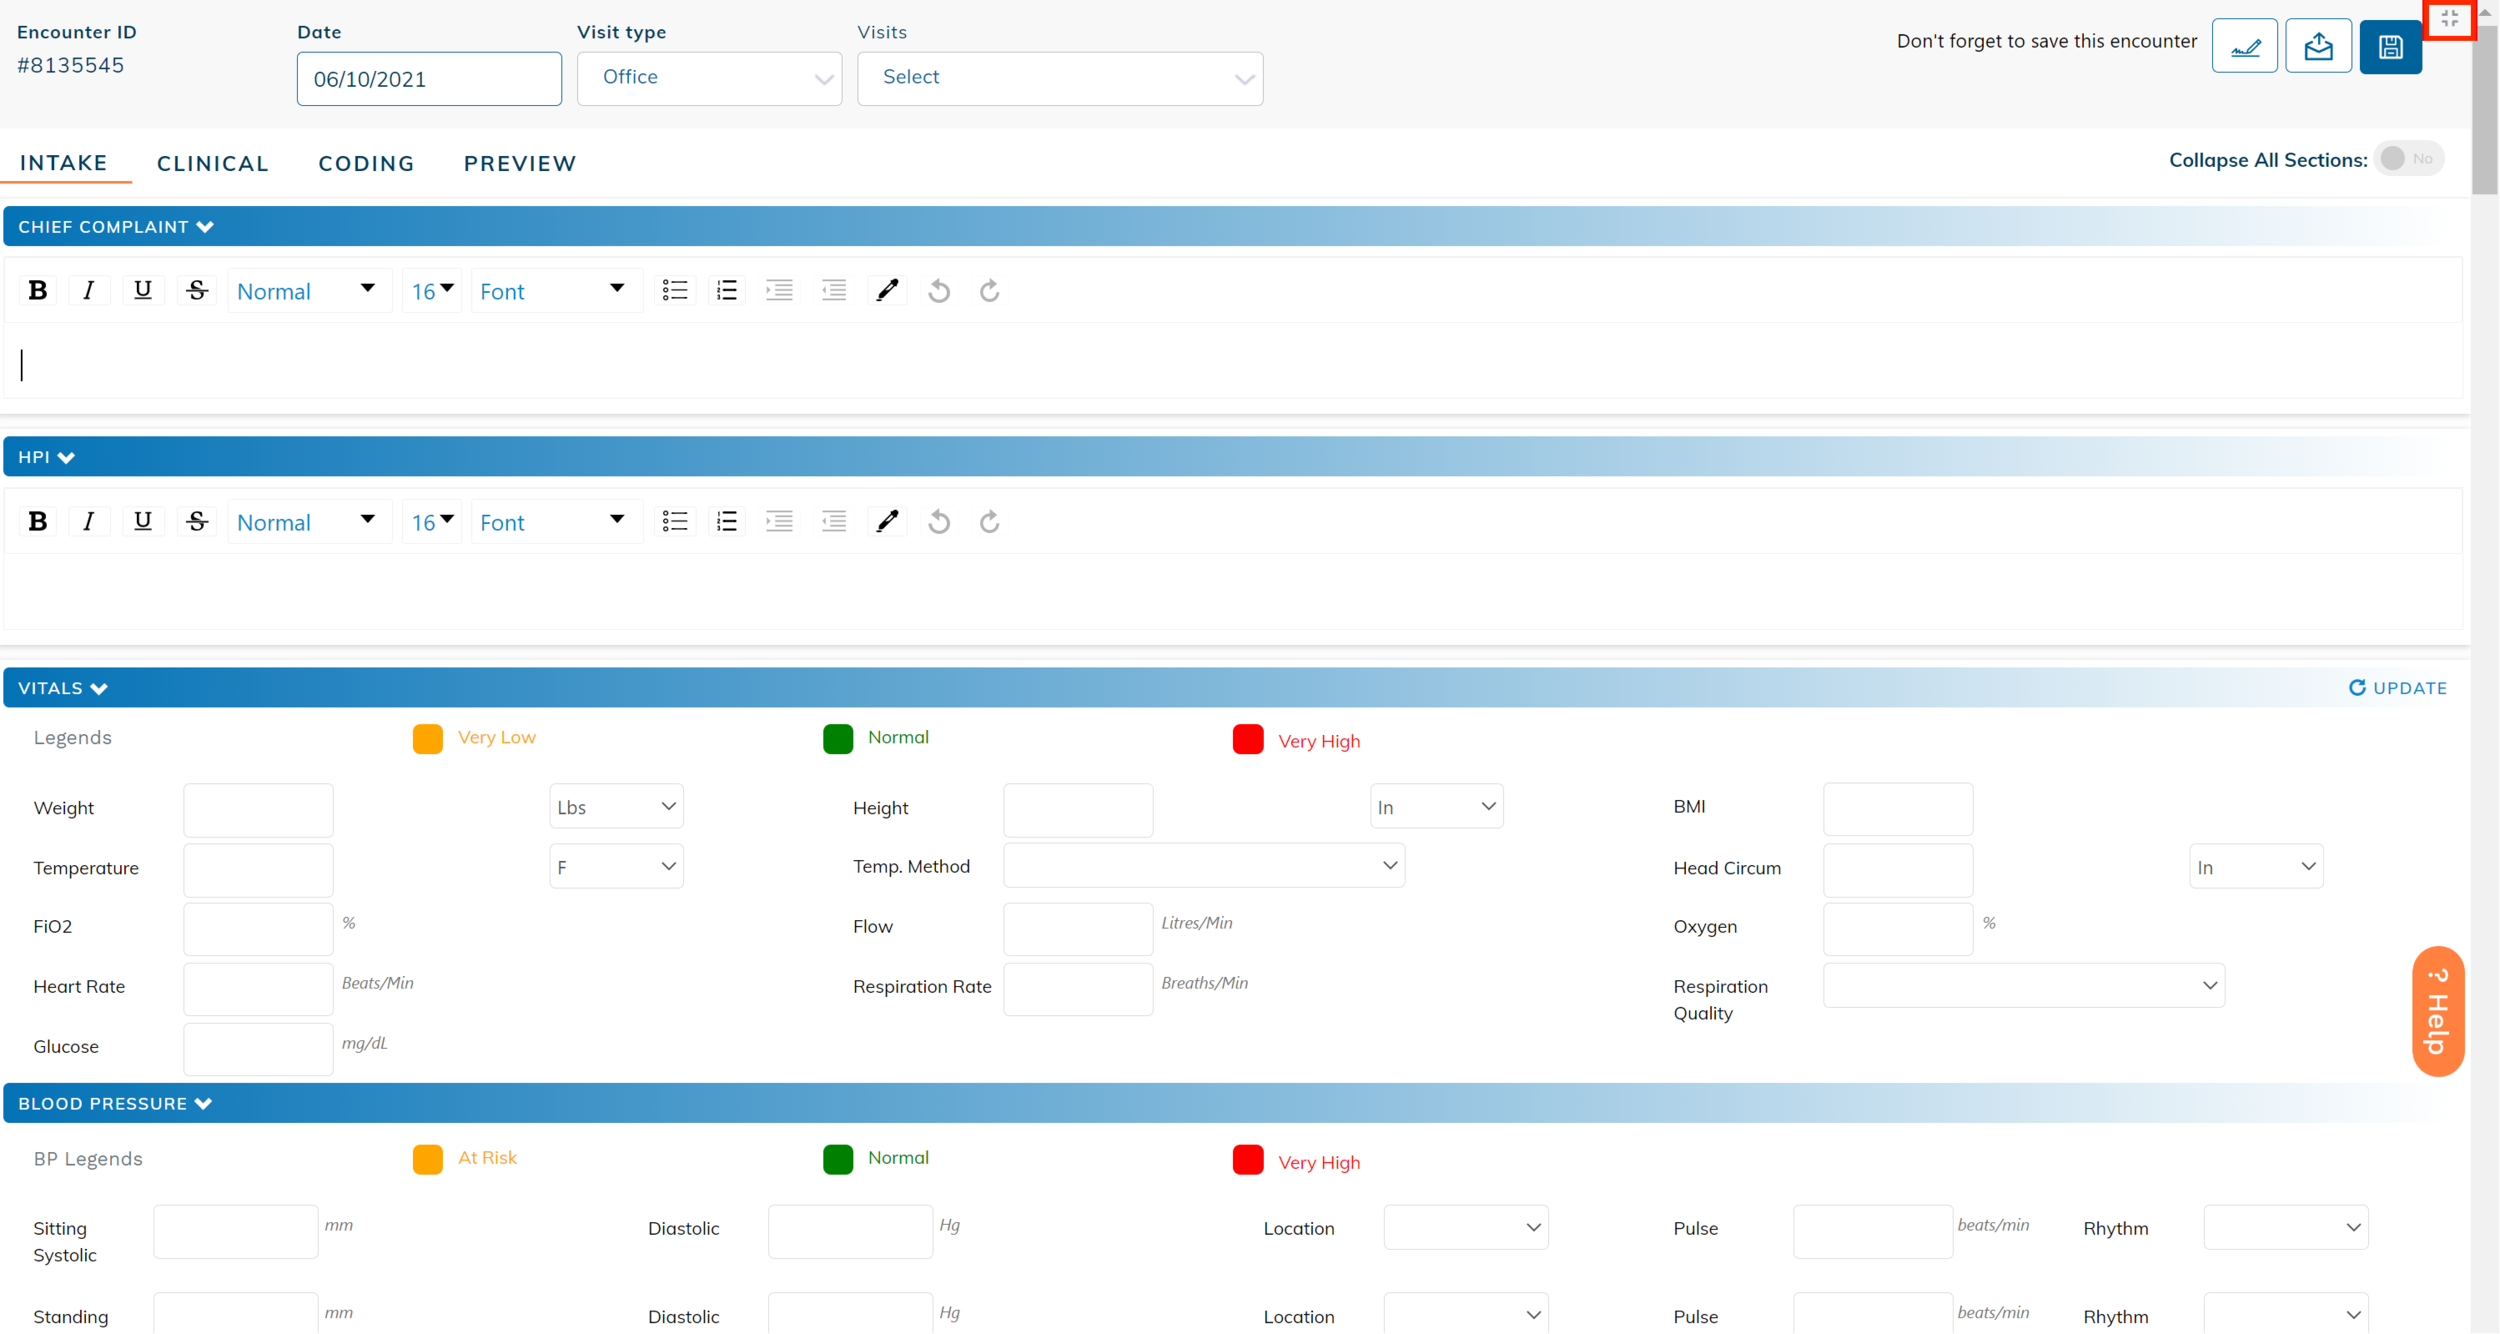
Click the Collapse icon to return to the patient dashboard view.

Encounter sections can be collapsed for easy scrolling using the Collapse All toggle at the top of the encounter.
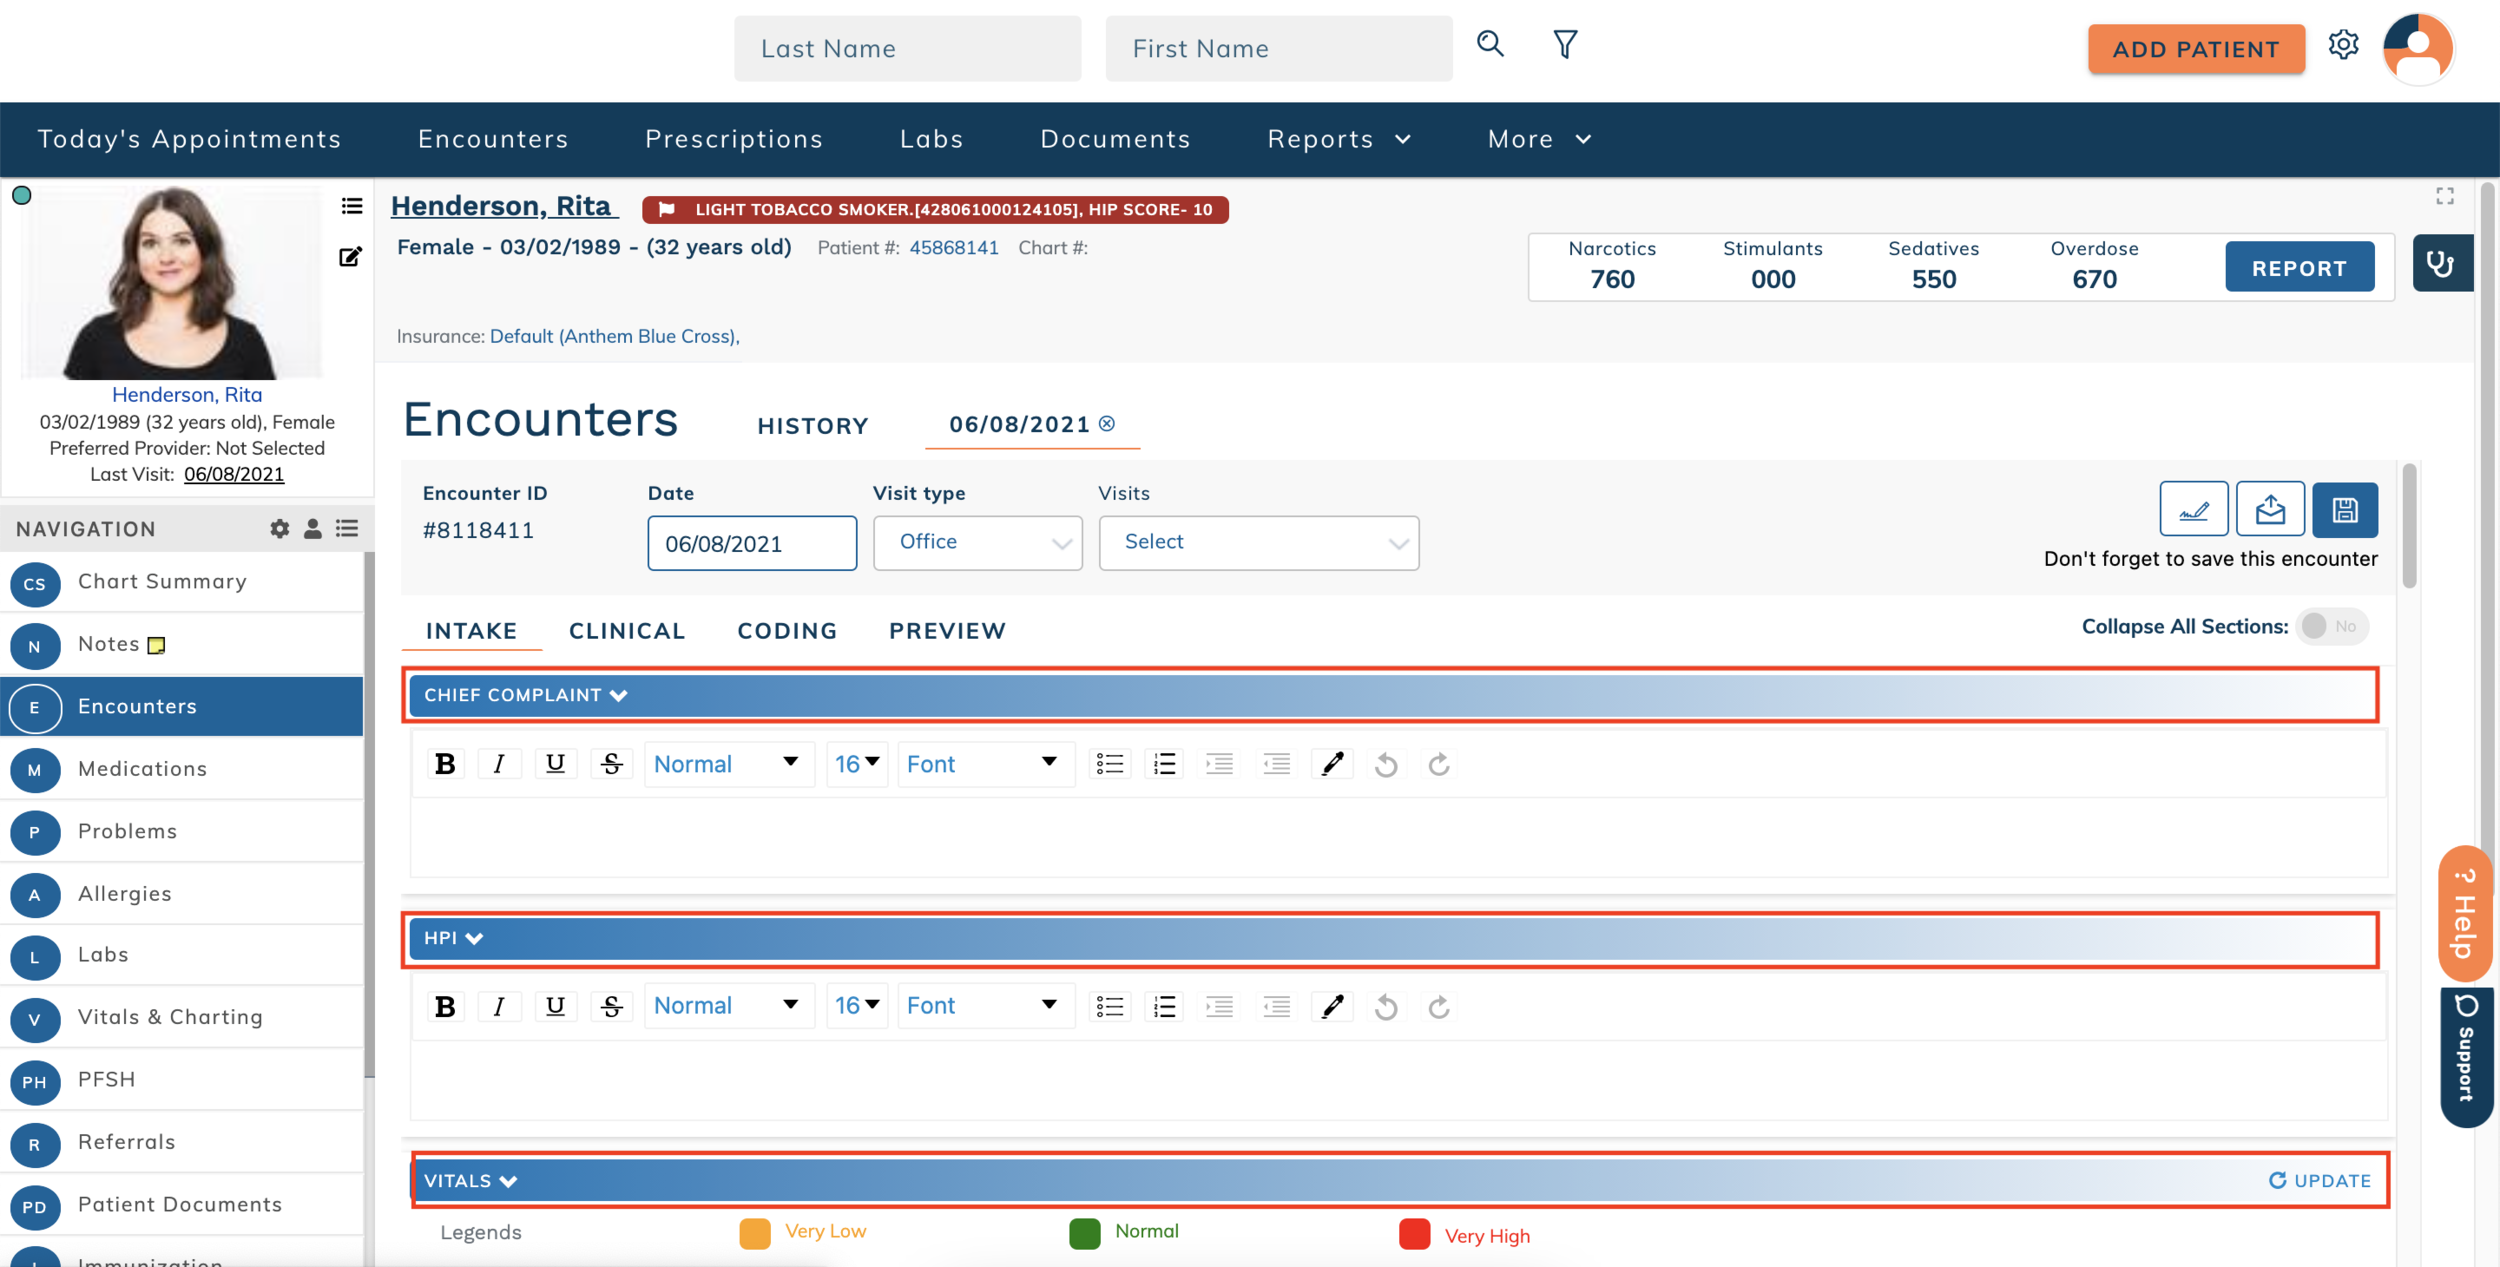
Individual sections can be collapsed or expanded by clicking on the section heading.

Some encounters contain multiple tabs of content. Navigate between tabs by clicking on the tab heading.

Some encounters contain tables that allow you to add rows of content. Click the white + in the section heading to add additional rows.

Click the red x to the right of a row to remove it from the encounter.

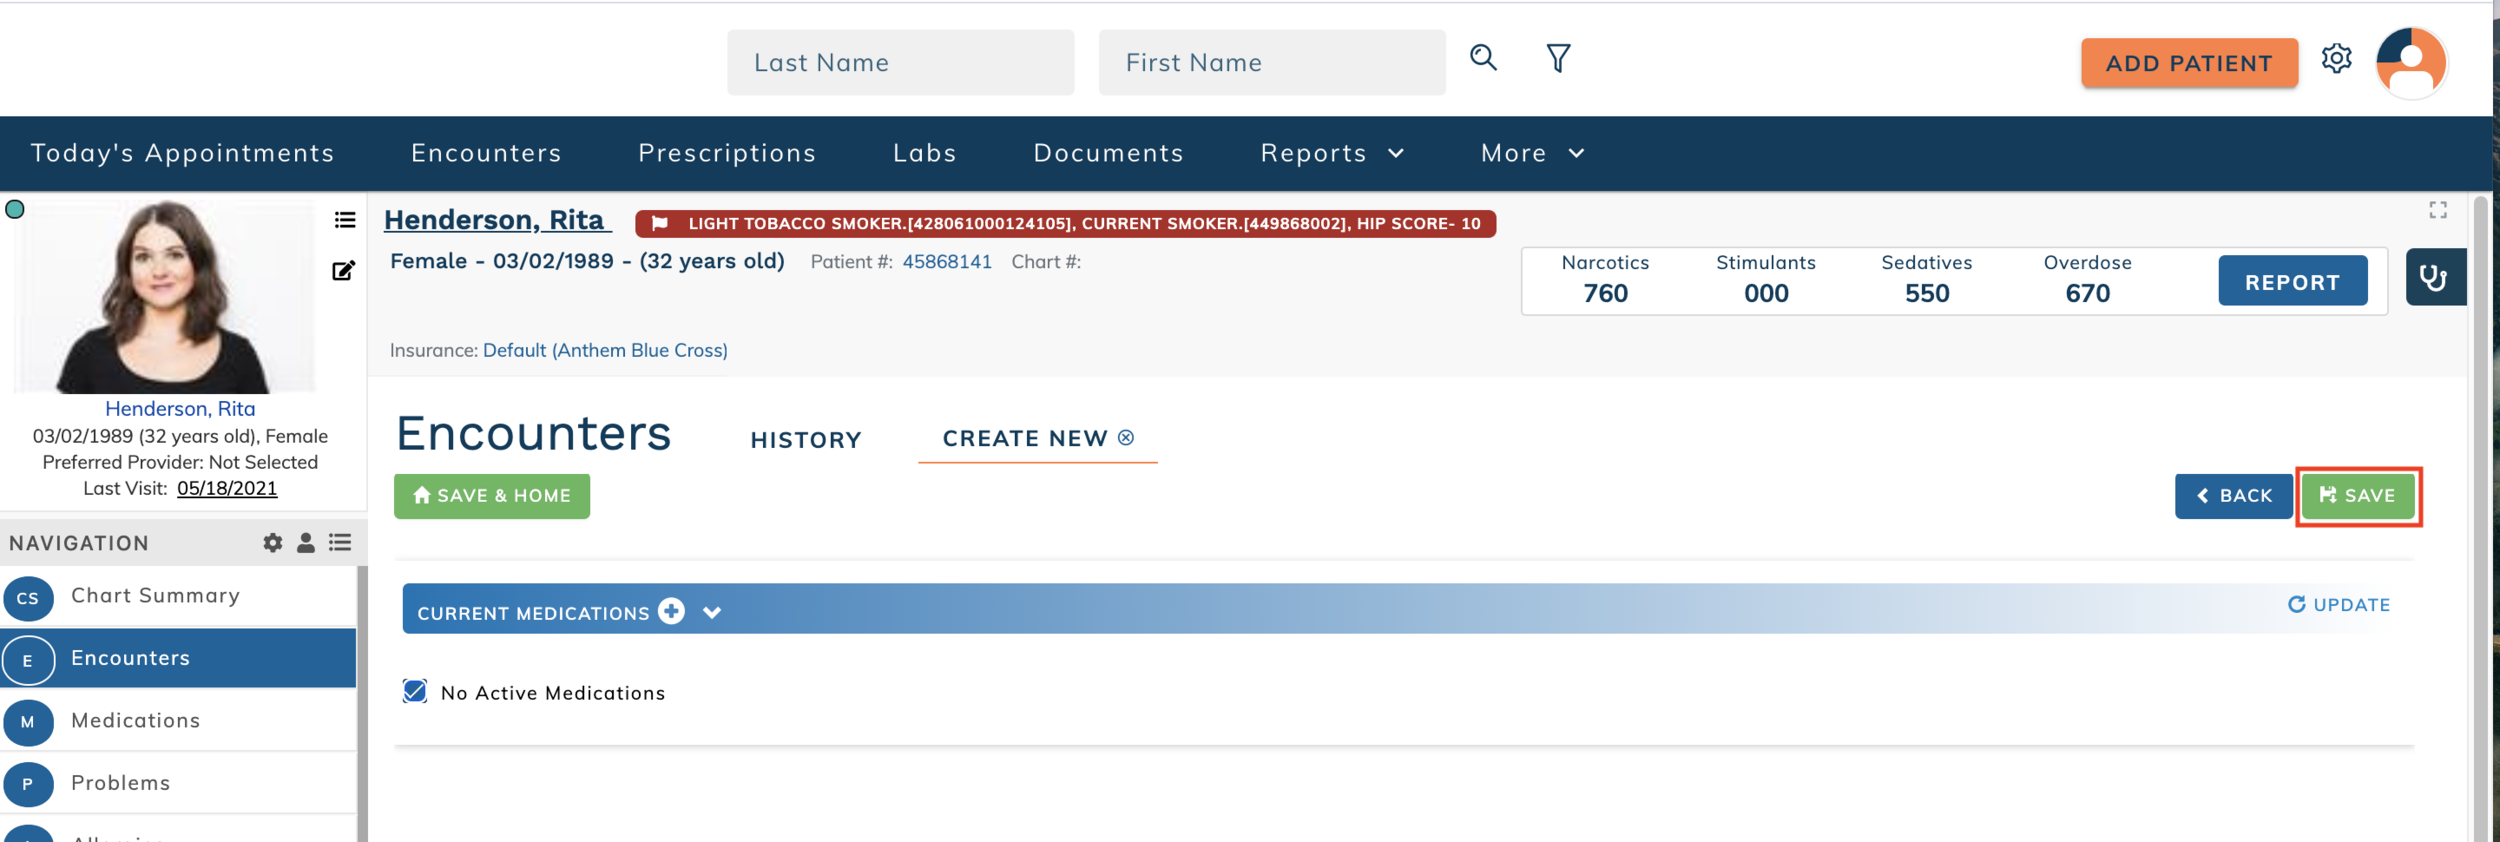
Patient encounters can be saved and exited at any time. Click Save to save the encounter.

Click the x on the encounter tab to close the encounter.
Preview an Encounter
Existing patient encounters can be viewed in preview mode, preventing inadvertent changes to an unsigned encounter.
Search for the appropriate patient and launch the Patient Dashboard.
Click Encounters or (E) on the left side navigation.
Click the three dots icon to the right of the patient encounter that should be copied for the new encounter.

Select View PDF to see the encounter in preview mode.