

edgeMED Help Center > Electronic Health Records > EHR
Print and send encounters.
Print an Encounter
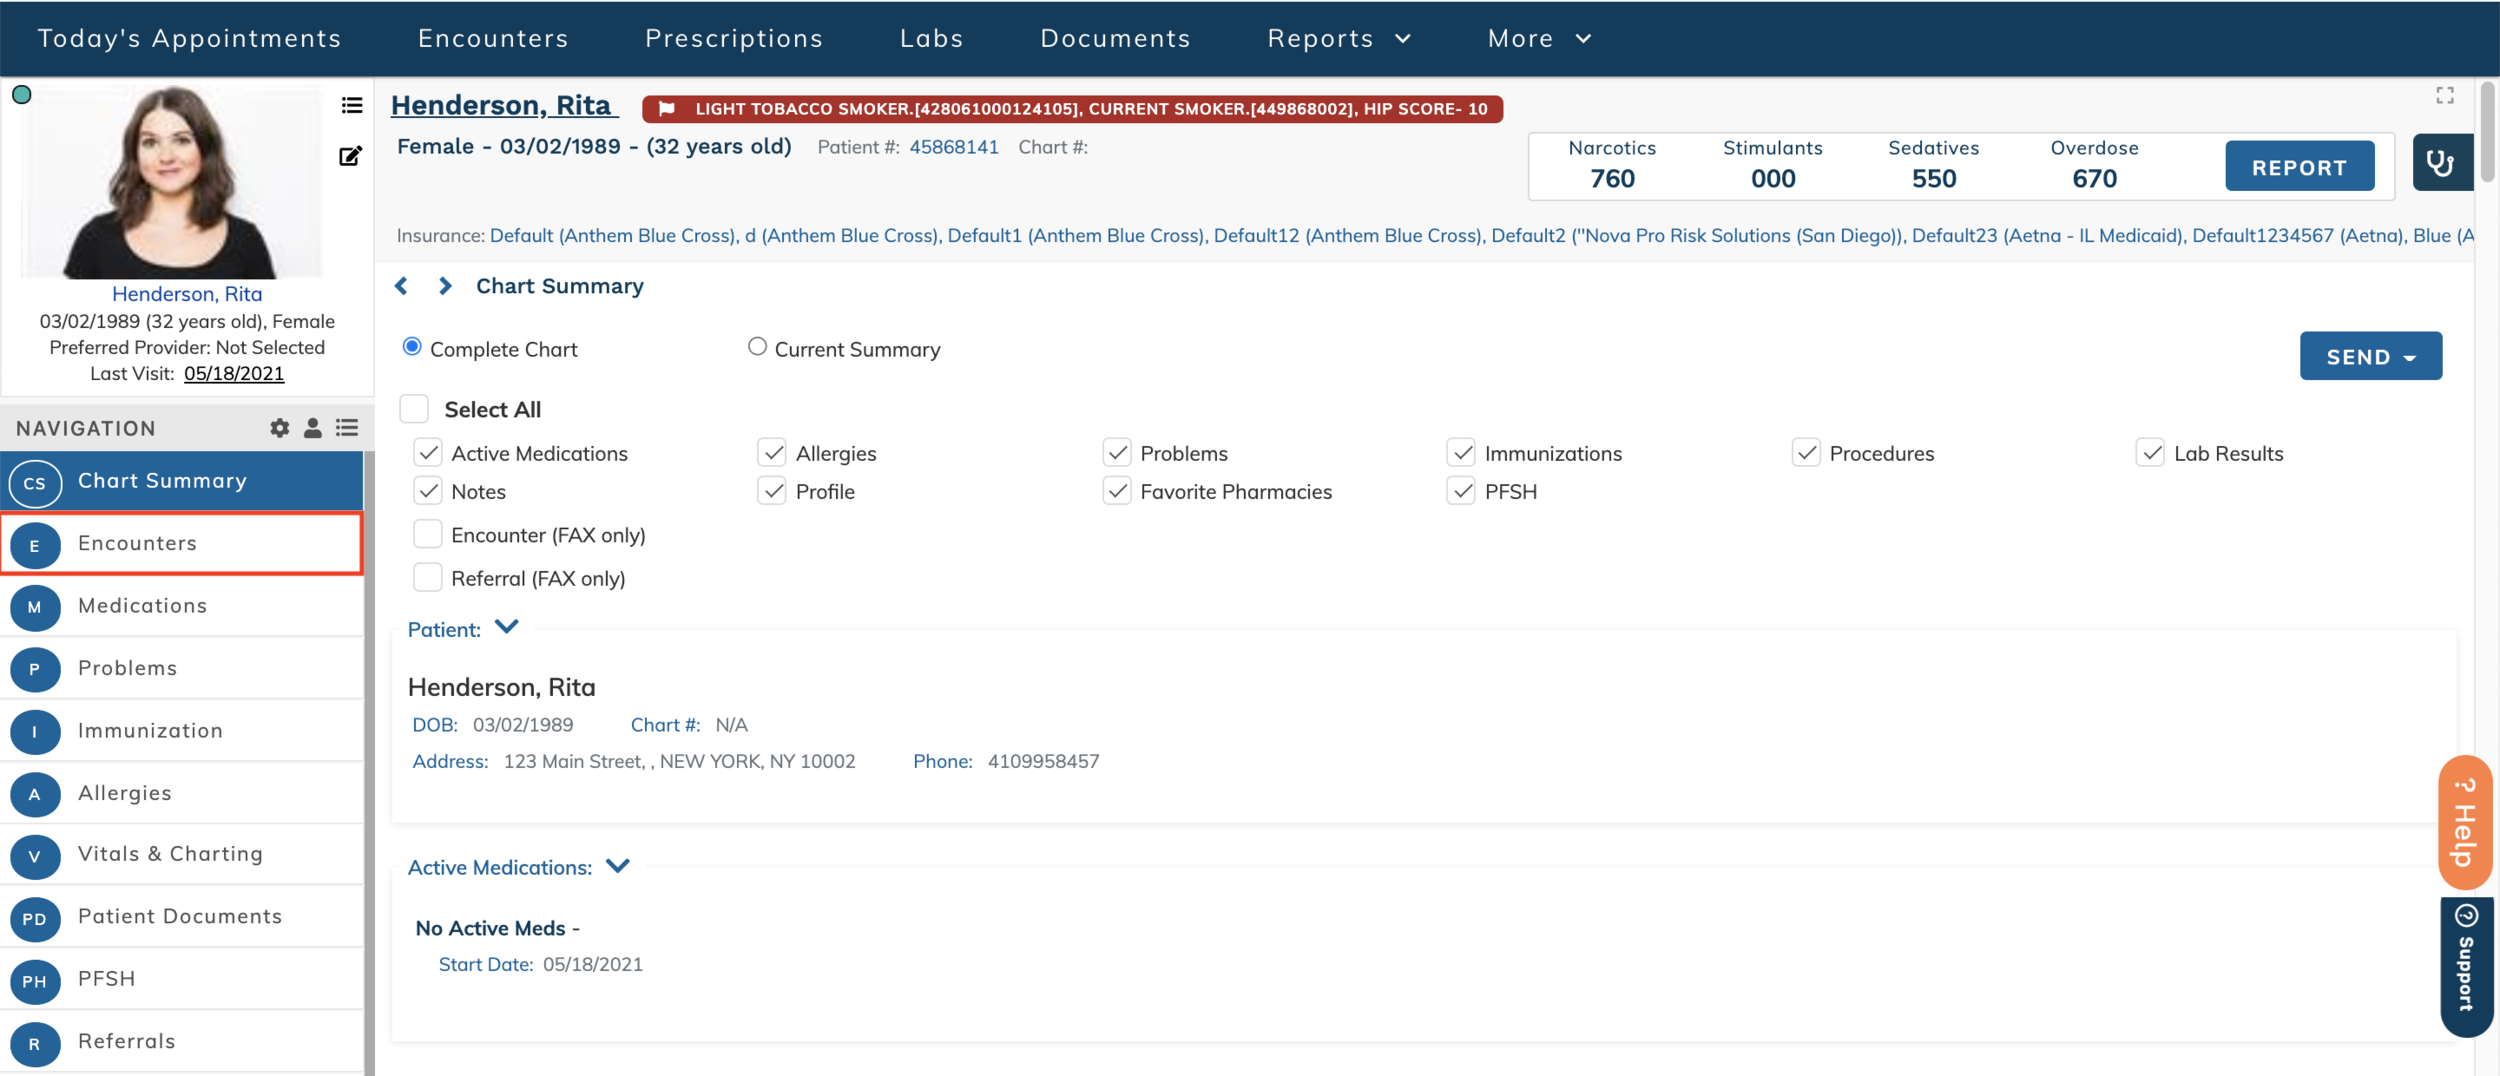
First, search for the appropriate patient and launch the Patient Dashboard. Once located, click Encounters or (E) on the left side navigation (as seen above).

Click on the checkbox to the left of the encounter or encounters to be printed.
Use the Checkbox below the Encounters heading to select all encounters. Use the chevron menu next to the select all checkbox to select only Draft or only Signed encounters.

Click the print icon at the top of the table. A pop-up confirmation window will appear, click Print in the pop-up window.
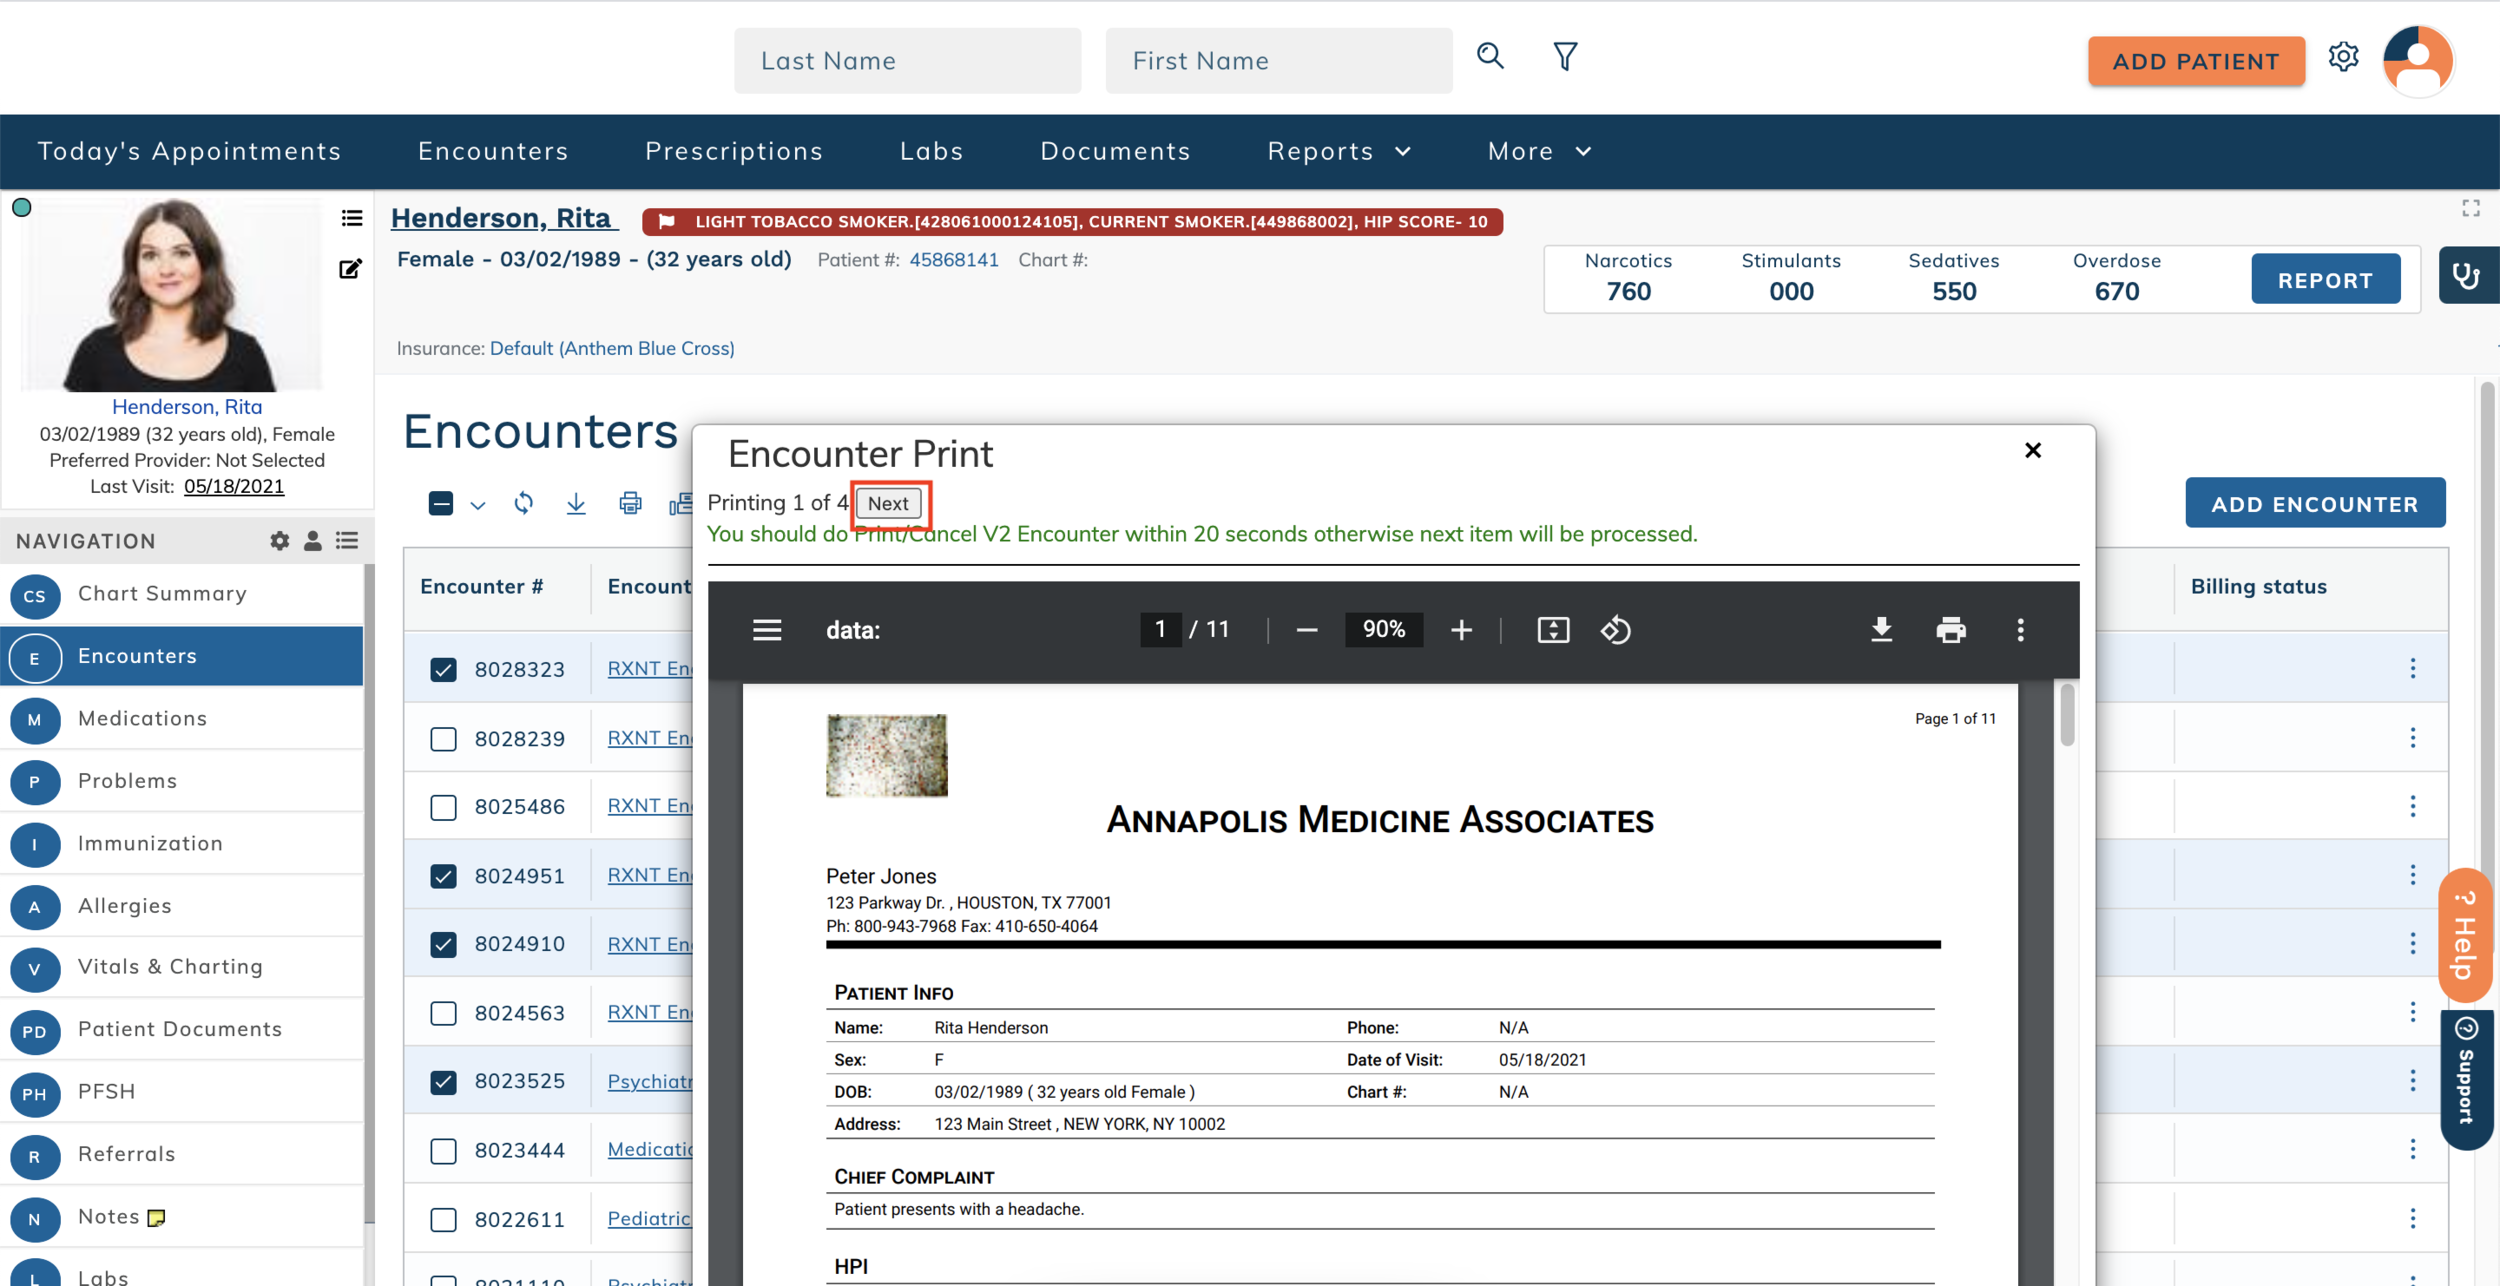
Click Next to print subsequent encounters.
Print a Clinical Summary
The clinical summary feature for patient encounters allows providers to supply patients, billers, or other providers with a limited amount of information from the patient encounter. This feature allows providers to supply necessary information while limiting privileged visit notes and/or PHI.
First, search for the appropriate patient and launch the Patient Dashboard. Once located, click Encounters or (E) on the left side navigation (as seen above).

Click the three dots icon to the right of a signed encounter. A dropdown action menu will appear. Select Clinical Summary from the action menu.
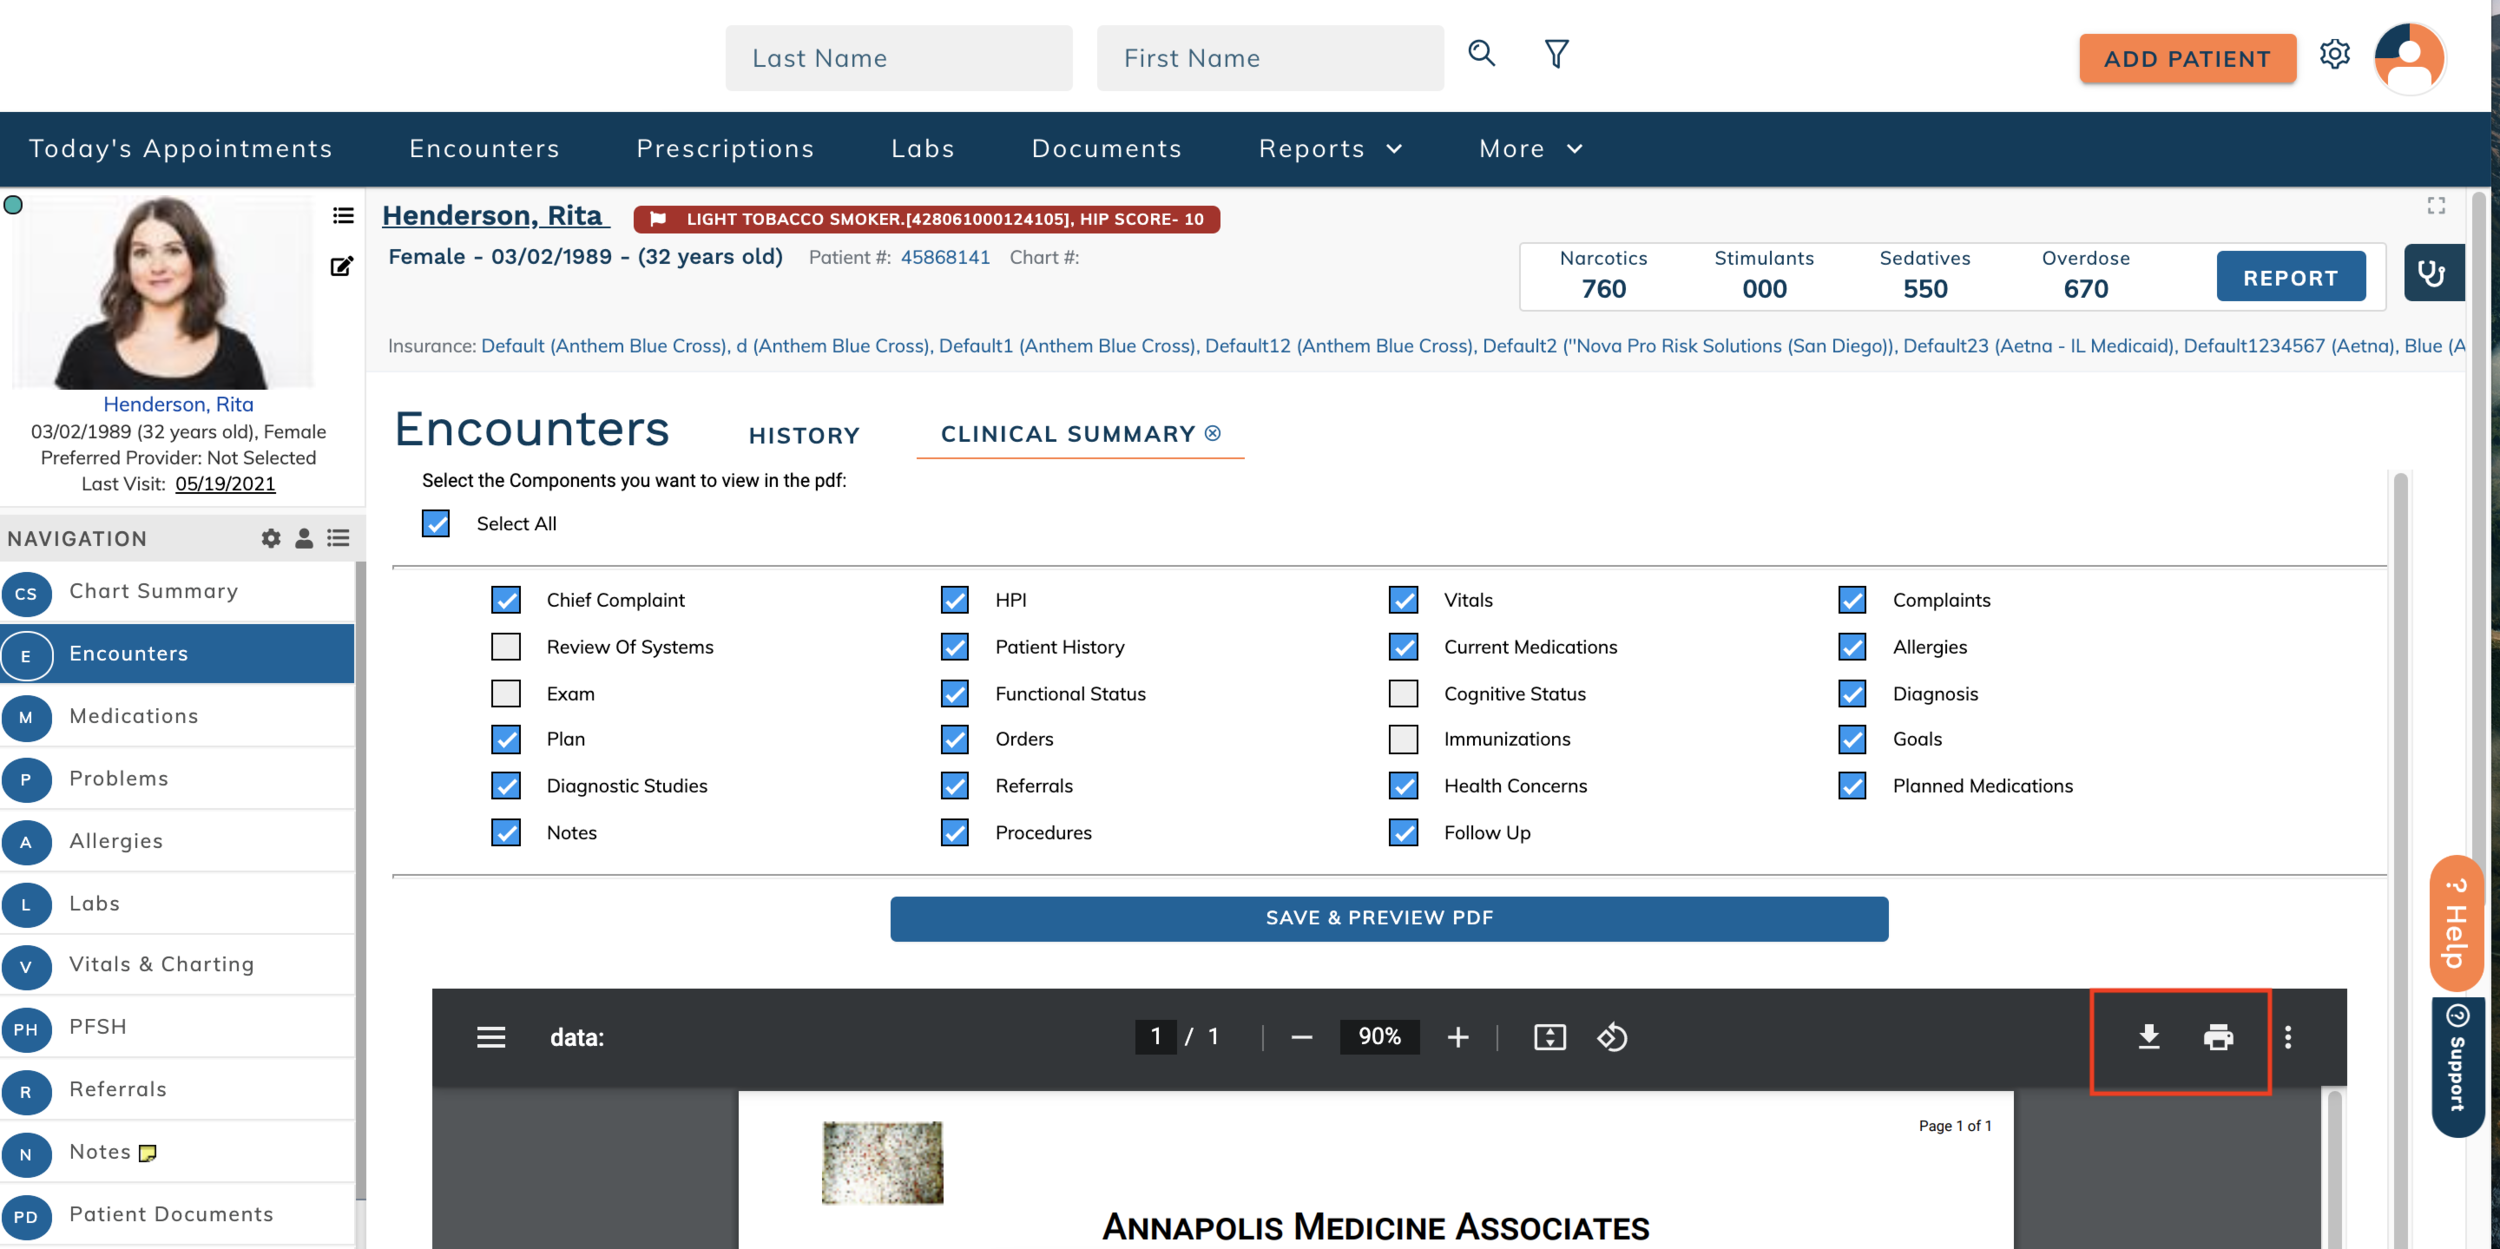
Limit the summary details using the checkboxes at the top of the screen. Only selected sections will be displayed in the summary. Use the Select All checkbox to easily check or uncheck all sections. Click Save & Preview PDF to generate the clinical summary.
Note: the clinical summary will not be saved to the patient's chart. Click the print icon in the PDF preview to print a hard copy of the summary or to save a PDF file of the summary.
Send an Encounter by Direct email
You can use this feature to send patient encounters securely to other physicians if your account is set up with direct email.
First, search for the appropriate patient and launch the Patient Dashboard. Once located, click Encounters or (E) on the left side navigation (as seen above).
Click on the three dots icon to the right of the encounter. A dropdown action menu will appear. Select Send from the action menu.

Enter the direct mail recipient and any additional message information that should accompany the encounter. Scroll down and click Send Message.
Send an Encounter by eFax
First, search for the appropriate patient and launch the Patient Dashboard. Once located, click Encounters or (E) on the left side navigation (as seen above).
Click on the checkbox to the left of the encounter or encounters to be printed.
Use the Checkbox below the Encounters heading to select all encounters. Use the chevron menu next to the select all checkbox to select only Draft or only Signed encounters.

Click the fax icon above the table.

You will be prompted to enter the To and Attention To information. When ready, click Send.