

edgeMED Help Center > Electronic Health Records > EHR
Create and edit encounter macros.
What is an Encounter Macro?
Encounter macros can be thought of as "sub-templates" for your encounter forms. Macros allow your providers and staff to set up pre-filled text and selections in your encounters that are specific to certain patient visits or scenarios. For example, many providers use a single encounter form for patient visits, but fill it out differently depending on the chief complaint of the patient.
Create a Macro (from the Utilities menu)

Click Utilities icon in the upper right corner.

In the User Tools Section, click Manage Macros.

Choose the appropriate encounter form from My Encounter Forms dropdown menu.

Click Add Template.

Complete the encounter macro as desired. When done, name the macro and click Save & Preview.
Create a Macro (from the Patient Encounter)
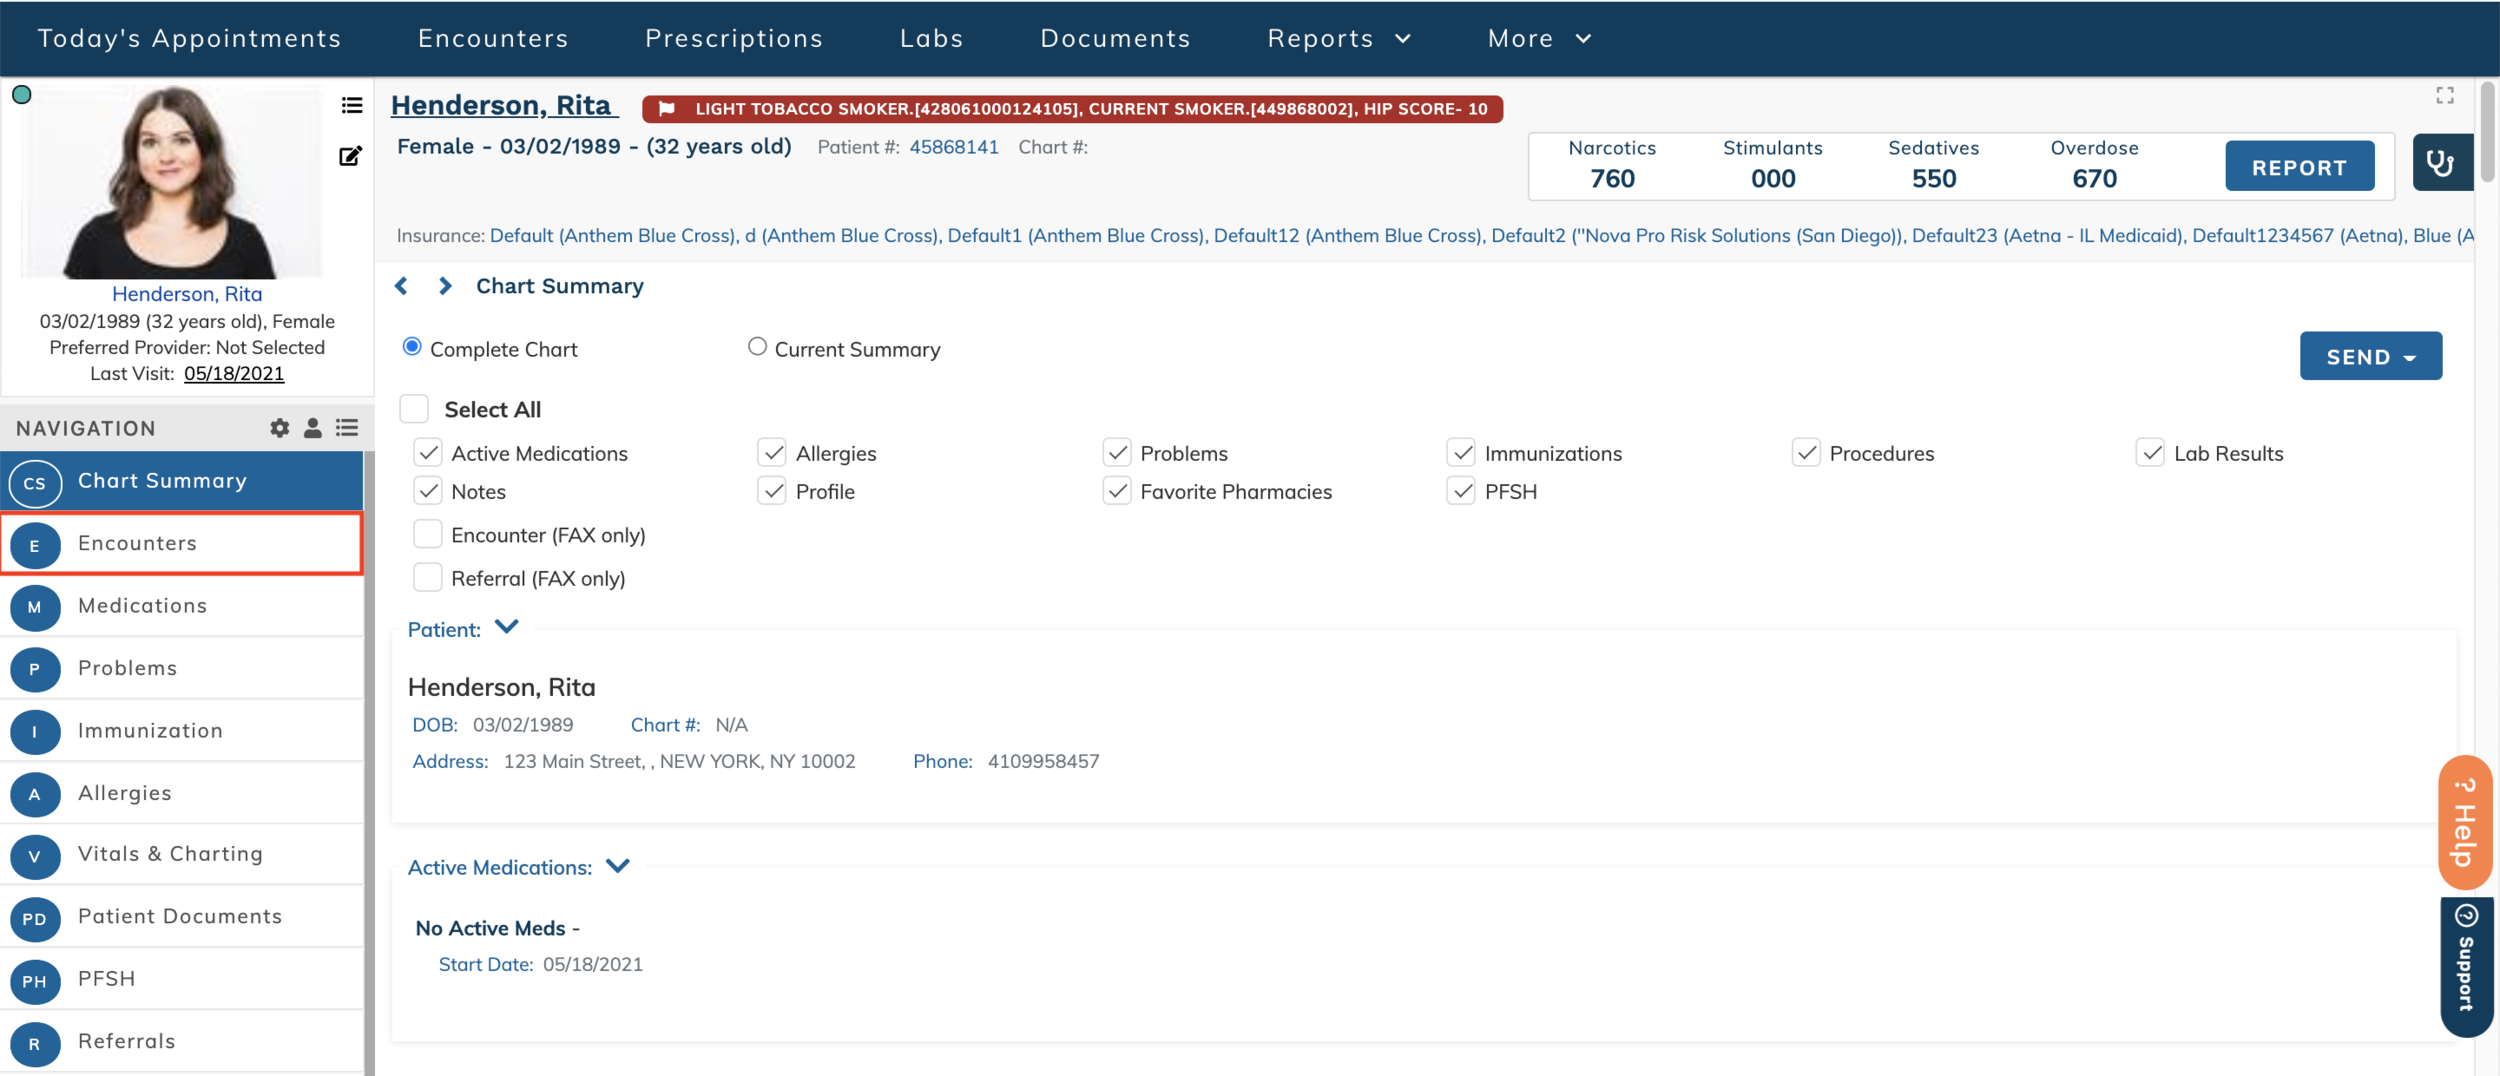
First, search for a patient and launch the Patient Dashboard. When this patient screen displays, click Encounters or (E) on the left side navigation.

Click the Add Encounter.

Select the desired Encounter Form from the dropdown menu and click Go.

Enter all information in the encounter that should be included in the macro. Macros will save all text, checkbox, and dropdown selections. Note: encounter macros will not save any plugin information, with the exception of CPT codes.

Click Preview once the encounter macro has been completed.

Enter a macro name in the text box above the PDF preview, then click Save Macro.
Edit an Existing Macro
Click Utilities.
In the User Tools Section, click Manage Macros.
Choose the appropriate encounter form from My Encounter Forms dropdown menu.

Click on the Title of the macro to edit. Make changes to the macro as desired. When done, click Save & Preview.
Remove Encounter Macros
Click Utilities.
In the User Tools Section, click Manage Macros.
Choose the appropriate encounter form from My Encounter Forms dropdown menu.

Click the checkbox to the left of the macros to remove and click Remove Selected.